| Key Takeaways |
|---|
| Essential tools: Pliers, wire cutters, drill, sandpaper, scissorsSafety gear: Gloves, safety glasses, dust maskDecorative elements: Crystals, LED lights, glass beads, faux flowersElectrical components: Light sockets, wiring, LED bulbs, dimmer switchAdhesives and fasteners: Epoxy, screws, wire, heavy-duty chainFinishing supplies: Spray paint, wood stain, varnish, paintbrushesWorkspace essentials: Workbench, good lighting, storage containersTime investment: 6-12 hours on averageCost-effective: Save 50-70% compared to store-bought chandeliers |
1. Essential Hand Tools for Branch Chandelier Creation
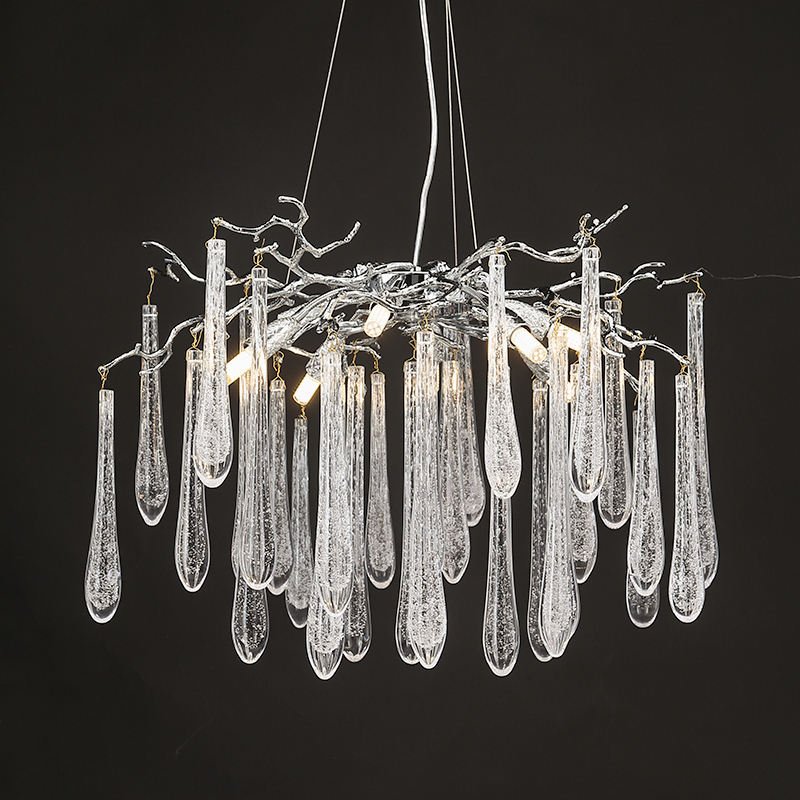
Creating your own branch chandelier is an exciting DIY project that can add a touch of nature-inspired elegance to your home. To get started, you’ll need some basic hand tools. Here’s a comprehensive list:
- Pliers: For bending and shaping wire
- Wire cutters: To cut wire and thin branches
- Drill: For creating holes in branches for lights and hanging mechanisms
- Sandpaper: To smooth rough edges and prepare surfaces for painting
- Sturdy scissors: For cutting decorative elements and light cords
- Measuring tape: To ensure proper proportions and balance
- Level: To ensure your chandelier hangs straight
- Screwdriver set: For various fastening needs
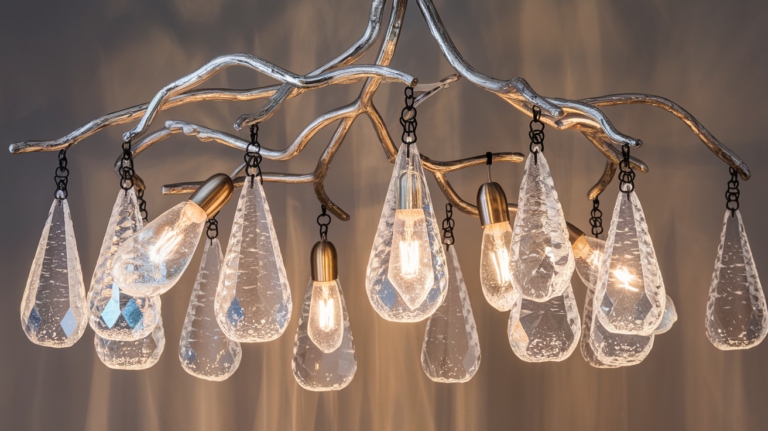
These tools form the foundation of your DIY toolkit and will be used frequently throughout the project. Investing in quality tools will make your work easier and more enjoyable. For inspiration on professional designs that utilize these tools effectively, check out our Ethereal Icicle Chandelier with Silver Branch Canopy.
2. Safety Equipment: Protecting Yourself During the DIY Process
Safety should always be your top priority in any DIY project. When working on your branch chandelier, it’s essential to protect yourself from potential hazards. Here’s the safety gear you’ll need:
| Safety Item | Purpose |
|---|---|
| Safety glasses | Protect eyes from flying debris and dust |
| Work gloves | Guard hands against splinters, cuts, and chemicals |
| Dust mask | Filter out fine particles when sanding or drilling |
| Ear protection | Reduce noise when using power tools |
| Non-slip shoes | Prevent slips and falls in the work area |
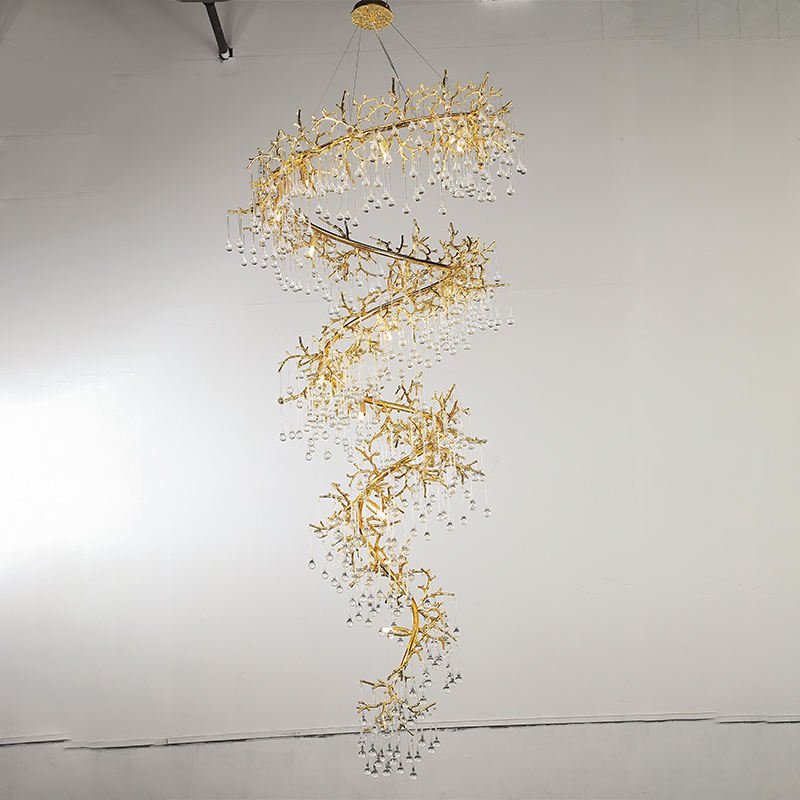
Remember, a safe crafter is a happy crafter! Always wear your safety gear, even for quick tasks. It only takes a moment for an accident to happen. For inspiration on professional-grade chandeliers that prioritize both safety and style, take a look at our Luxe Gold Spiral Branch Chandelier with Crystal Droplets.
3. Decorative Elements: Adding Sparkle to Your Branch Chandelier
The magic of a branch chandelier lies in its decorative elements. These additions transform a simple branch into a stunning centerpiece. Here are some popular options:
- Crystals: Add shimmer and elegance
- LED Lights: Create warm, ambient lighting
- Glass Beads: Provide color and texture
- Faux Flowers: Add a natural, whimsical touch
- Metallic Accents: Bring a touch of glamour
- Ribbons: Introduce softness and color
- Pinecones or Acorns: Enhance the natural theme
- Small Mirrors: Reflect light and add depth
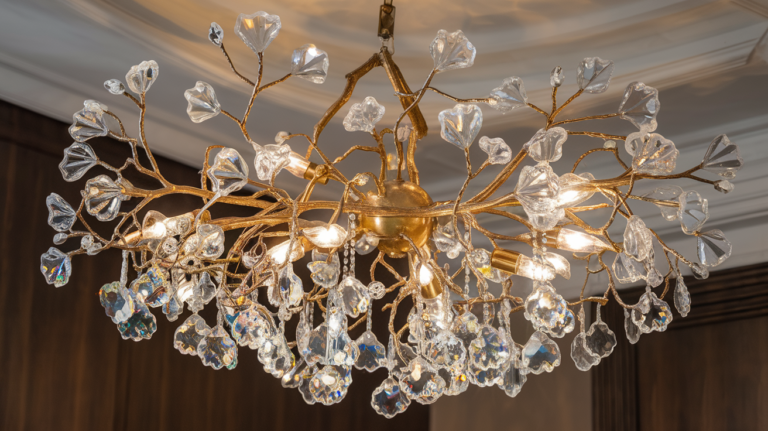
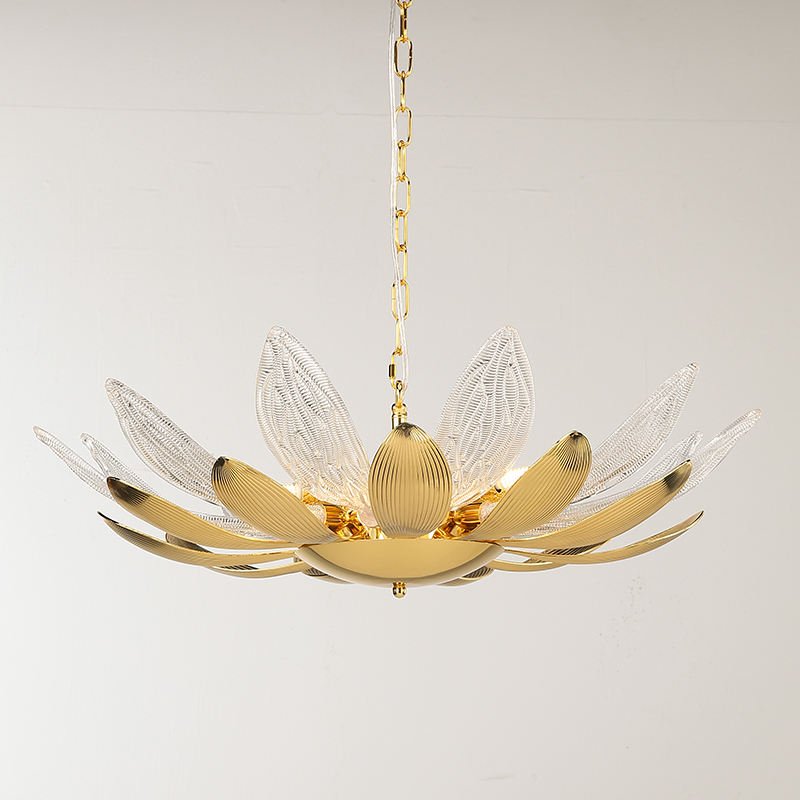
When choosing decorative items, think about the overall style you want to achieve. For a rustic look, use natural elements like pinecones or dried flowers. For a more glamorous feel, opt for shimmering crystals and metallic accents. Mix and match to create a unique piece that reflects your personal style. Our Luxe Gold Lotus Blossom Chandelier with Glass Petals can provide inspiration for your own creation.
4. Electrical Components: Illuminating Your DIY Chandelier
The electrical components are what bring your branch chandelier to life. Here’s a detailed list of what you’ll need:
| Component | Purpose | Tips |
|---|---|---|
| Light Sockets | Hold the bulbs | Choose the right size for your bulbs |
| Wiring | Connect all electrical parts | Use proper gauge for safety |
| LED Bulbs | Provide illumination | Energy-efficient and long-lasting |
| Dimmer Switch | Adjust lighting intensity | Creates versatile ambiance |
| Junction Box | Safely connect wires | Essential for electrical safety |
| Wire Nuts | Secure wire connections | Use appropriate size for your wires |
| Electrical Tape | Insulate connections | Always use in addition to wire nuts |
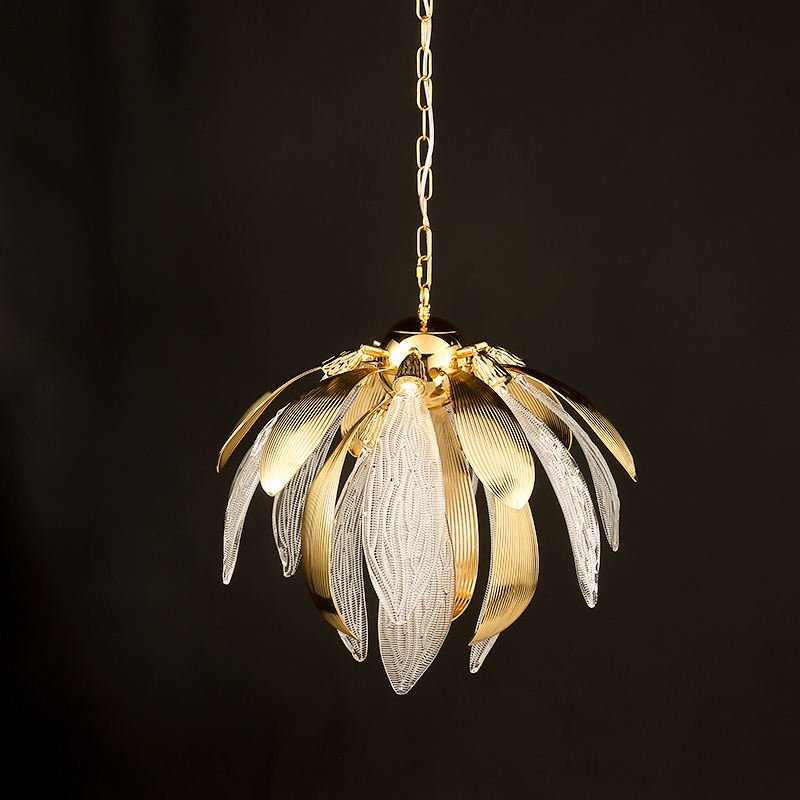
If you’re not comfortable with electrical work, it’s best to consult a professional. Safety should always be your top priority when working with electricity. For a stunning example of professional lighting design, check out our Elegant Gold Lotus Flower Pendant Light with Glass Petals.
5. Adhesives and Fasteners: Securing Your Chandelier Components

“The right adhesive can make the difference between a chandelier that lasts for years and one that falls apart in months.”
Choosing the right adhesives and fasteners is crucial for the durability of your DIY branch chandelier. Here’s what you’ll need:
- Epoxy: Strong, clear-drying adhesive for attaching decorative elements
- Hot glue gun: For quick, temporary holds during assembly
- Small screws: For securing heavier items to branches
- Wire: Versatile for attaching various elements
- Heavy-duty chain or cable: For suspending your chandelier
- Ceiling hook: To attach the chandelier to your ceiling
- Zip ties: For managing cords and securing light strands
- Wood glue: If joining wooden elements
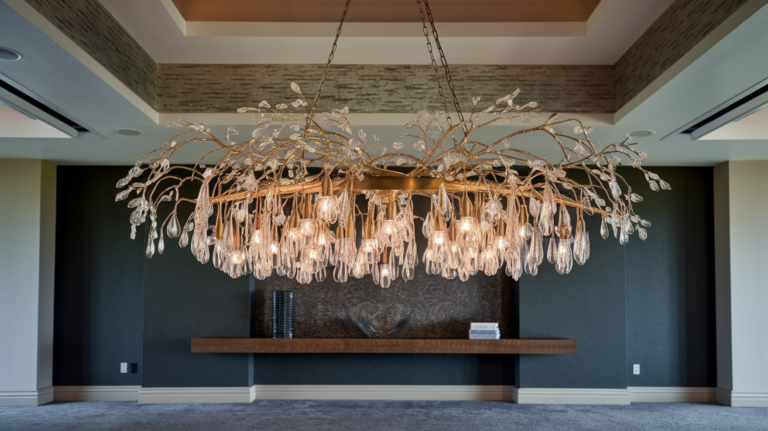
Remember to always follow the manufacturer’s instructions for any adhesives or fasteners you use. Test the strength of your connections before hanging your chandelier. For ideas on professional hanging techniques, take a look at our Luxe Gold Linear Branch Chandelier with Colorful Crystals.
6. Painting and Finishing Supplies: Adding the Final Touch
The finishing touches can elevate your DIY branch chandelier from good to great. Here’s what you might need:
| Finish Type | Best For | Application Tips |
|---|---|---|
| Metallic Spray Paint | Glamorous, modern look | Apply in thin, even coats |
| Wood Stain | Natural, rustic appearance | Test on scrap wood first |
| Clear Varnish | Protecting natural wood | Sand between coats for smoothness |
| Chalk Paint | Shabby chic or vintage style | No primer needed, distress for effect |
| Glitter Spray | Adding sparkle and glamour | Use over a base coat for best results |
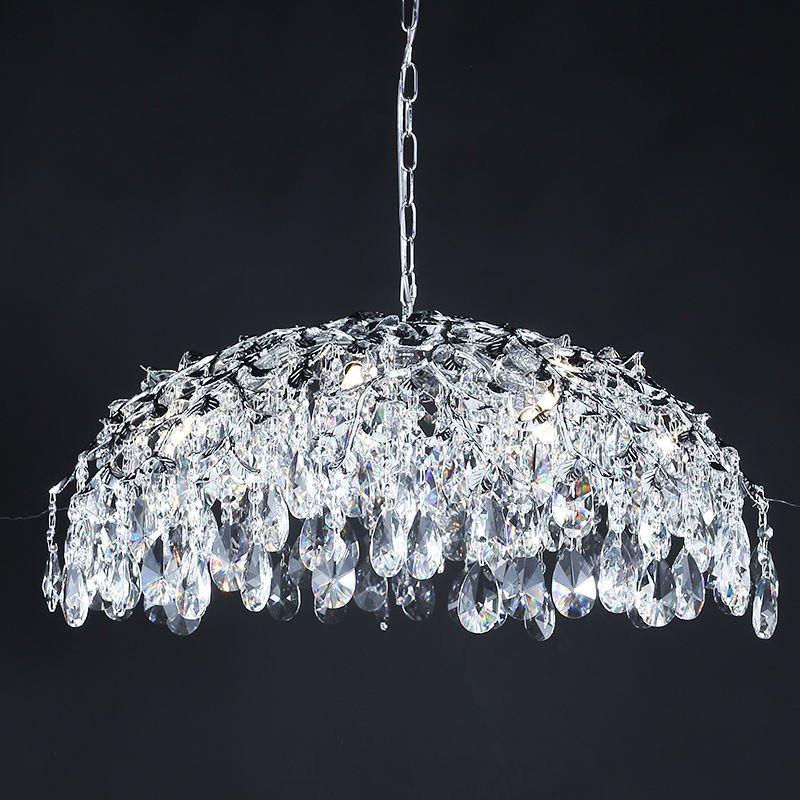
Don’t forget paintbrushes, sandpaper for smooth finishes, and drop cloths to protect your work area. Consider the overall style of your room when choosing finishes. A metallic gold spray paint can create a luxurious look, while a natural wood stain maintains a rustic charm. For inspiration on professional finishes, check out our Luxe Crystal Umbrella Branch Chandelier with LED Lights.
7. Workspace Essentials: Setting Up for Success
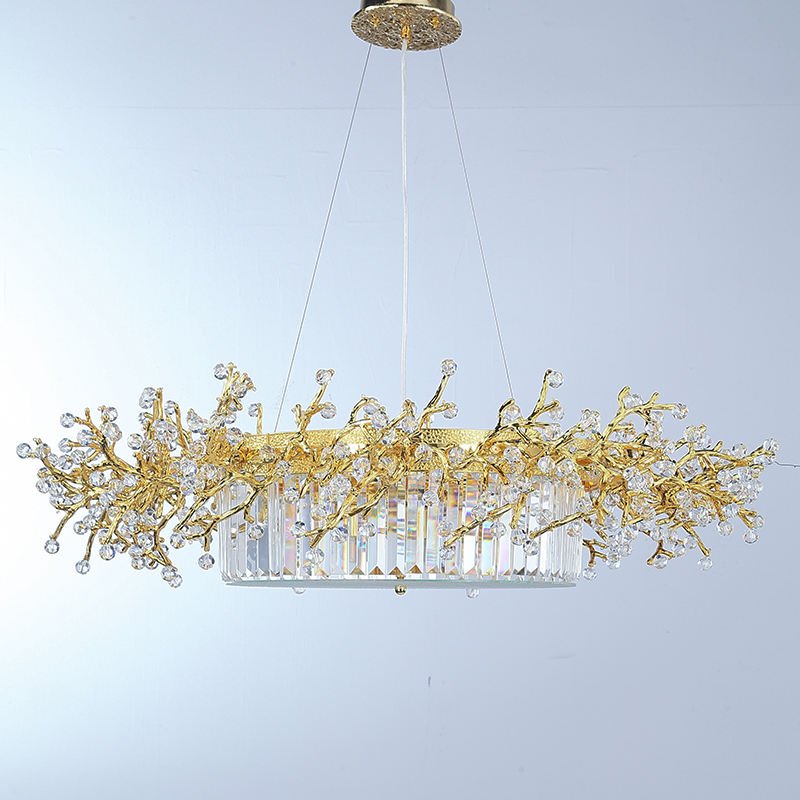
Creating a DIY branch chandelier requires a proper workspace. Here’s what you need to set up for success:
- Workbench or Table: Provides a stable surface for your project
- Good Lighting: Essential for detailed work, consider a bright work lamp
- Comfortable Seating: You’ll likely spend several hours on this project
- Storage Containers: Keep small parts organized and easily accessible
- Measuring Tools: Ruler, tape measure, and angle finder for precise dimensions
- Ventilation: Especially important when using paints or adhesives
- First Aid Kit: Safety first – always be prepared
- Clean-Up Supplies: Rags, paper towels, and cleaning solutions
A well-organized workspace will make your DIY project more enjoyable and efficient. Keep your tools within reach and your materials sorted. Take breaks as needed to avoid fatigue, which can lead to mistakes or accidents. For ideas on professional-grade lighting setups, take a look at our Luxe Gold Crystal Branch Chandelier with LED Lights.
Remember, creating a DIY branch chandelier is not just about the end result, but also about enjoying the creative process. Take your time, be patient with yourself, and don’t be afraid to experiment. With the right tools and a bit of creativity, you can create a stunning, unique chandelier that will be the centerpiece of your home for years to come.

