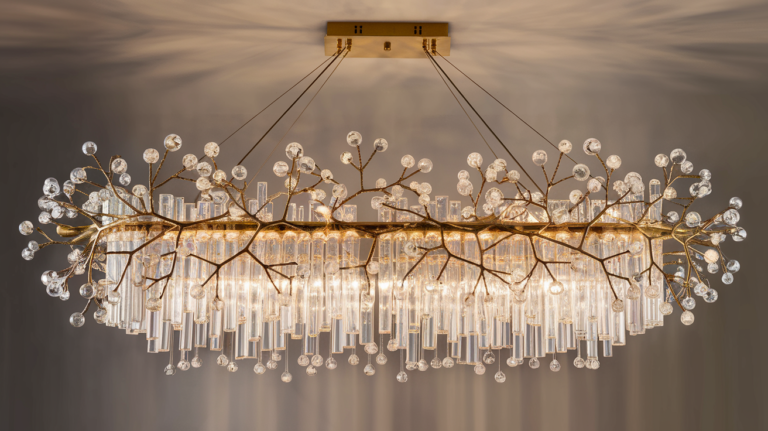
| Top 5 Mistakes in DIY Branch Chandeliers | How to Avoid Them |
|---|---|
| 1. Using fresh branches | Use dry, seasoned branches |
| 2. Overloading with decorations | Keep it simple and balanced |
| 3. Ignoring weight distribution | Evenly spread the weight |
| 4. Poor electrical connections | Use proper wiring techniques |
| 5. Inadequate ceiling support | Install a sturdy mounting bracket |
1. Branch Blunders: Choosing the Wrong Wood
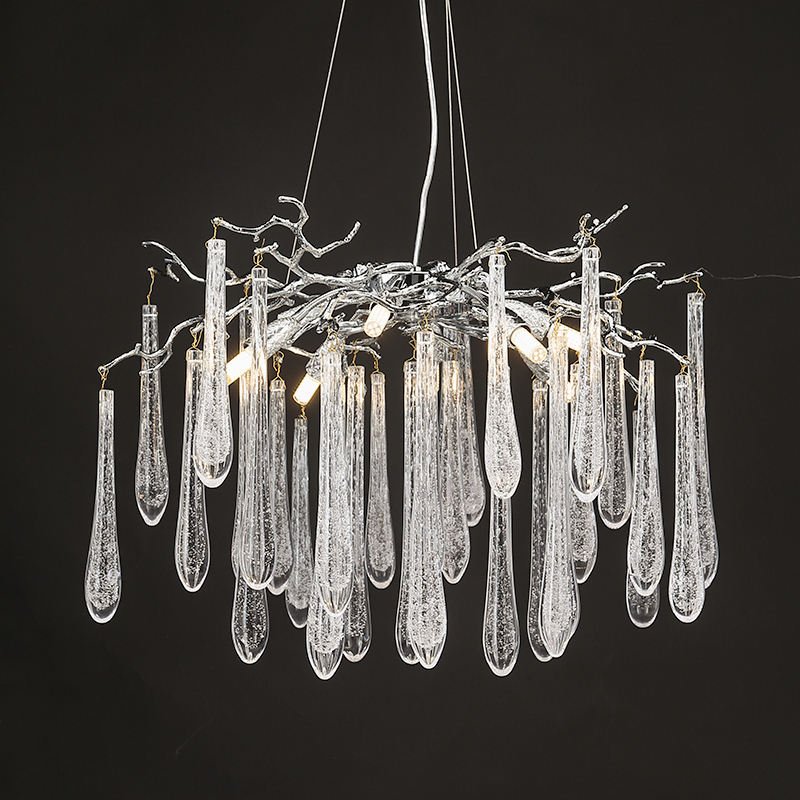
One of the biggest mistakes people make when creating DIY branch chandeliers is using the wrong kind of branches. It’s like trying to build a sandcastle with wet sand – it just doesn’t work well!
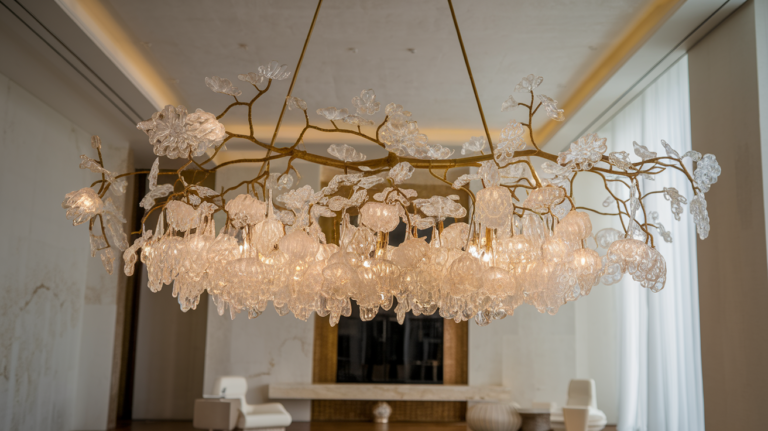
Always use dry, seasoned branches for your chandelier. Fresh branches can shrink as they dry, which might make your chandelier fall apart. Plus, dry branches are lighter and easier to work with. For inspiration on how to use branches effectively, check out our Ethereal Icicle Chandelier with Silver Branch Canopy.
2. Decoration Disasters: Less is More
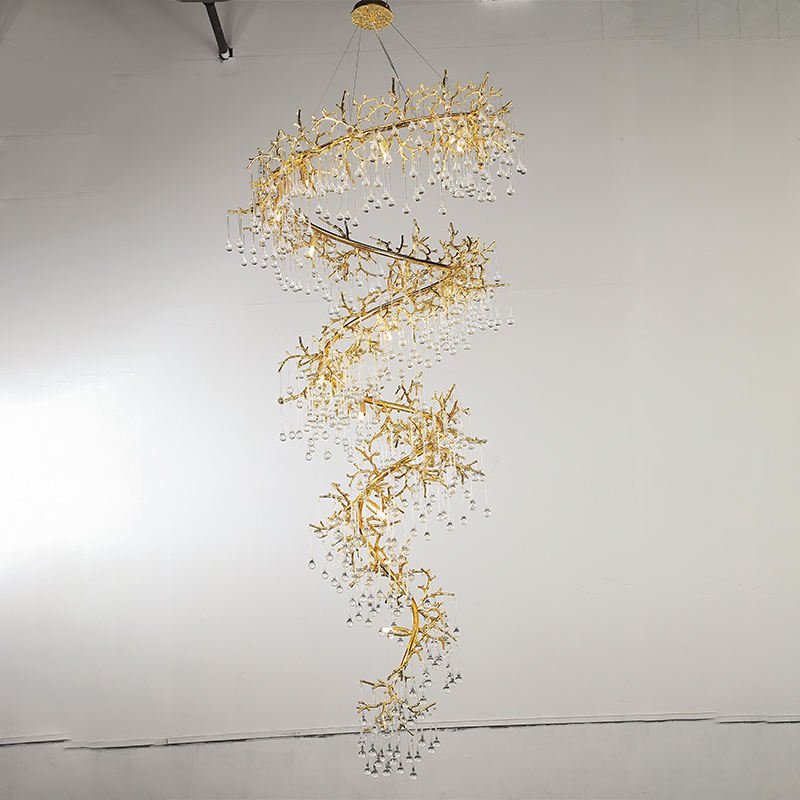
When it comes to decorating your branch chandelier, it’s easy to get carried away. But remember, sometimes less is more! Overloading your chandelier with too many decorations is like putting too many toppings on a pizza – it can be overwhelming and messy.
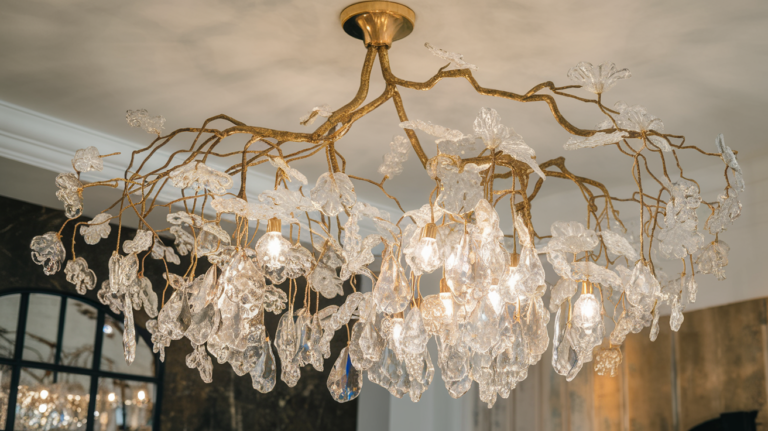
Try to keep your decorations simple and balanced. A few well-placed crystals or lights can look much better than a chandelier crowded with ornaments. For ideas on elegant, not overdone designs, take a look at our Luxe Gold Spiral Branch Chandelier with Crystal Droplets.
3. Weight Woes: Balancing Act Gone Wrong
| Chandelier Part | Weight Consideration | Balancing Tip |
|---|---|---|
| Main Branch | Heaviest part | Center it for stability |
| Side Branches | Should be similar weights | Arrange symmetrically |
| Decorations | Can add significant weight | Distribute evenly |
| Lights | Usually lightweight | Spread out for even illumination |
Ignoring weight distribution is like trying to ride a bike with square wheels – it’s not going to be smooth! When you’re making your branch chandelier, it’s super important to think about balance.
Make sure you spread out the weight of your branches, decorations, and lights evenly. If one side is much heavier than the other, your chandelier might tilt or even fall. For ideas on beautifully balanced chandeliers, check out our Luxe Gold Lotus Blossom Chandelier with Glass Petals.
4. Wiring Worries: Electrical Errors to Avoid
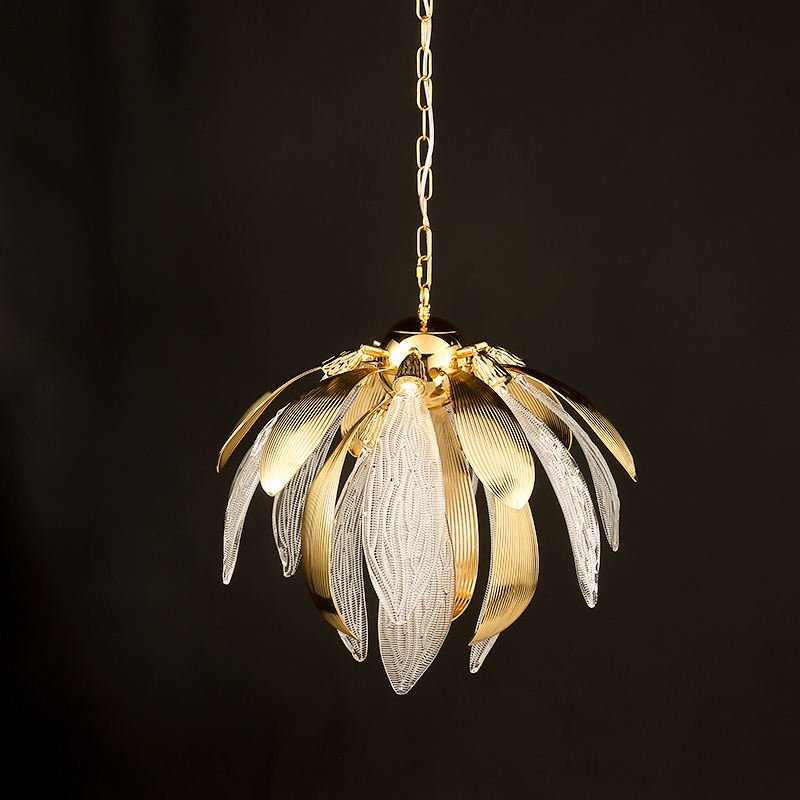
When it comes to the electrical part of your DIY branch chandelier, mistakes can be more than just annoying – they can be dangerous! It’s like trying to play with fire – you need to be very careful.
- DON’T: Use exposed wires
- DON’T: Overload your electrical circuit
- DON’T: Mix different types of wires
- DO: Use proper wire nuts for connections
- DO: Follow the manufacturer’s instructions for your lights
- DO: Ask for help if you’re not sure about something
Remember, if you’re not comfortable with electrical work, it’s always best to ask an adult or a professional for help. Safety first! For inspiration on professionally wired lighting, take a look at our Elegant Gold Lotus Flower Pendant Light with Glass Petals.
5. Mounting Mishaps: Securing Your Chandelier Safely
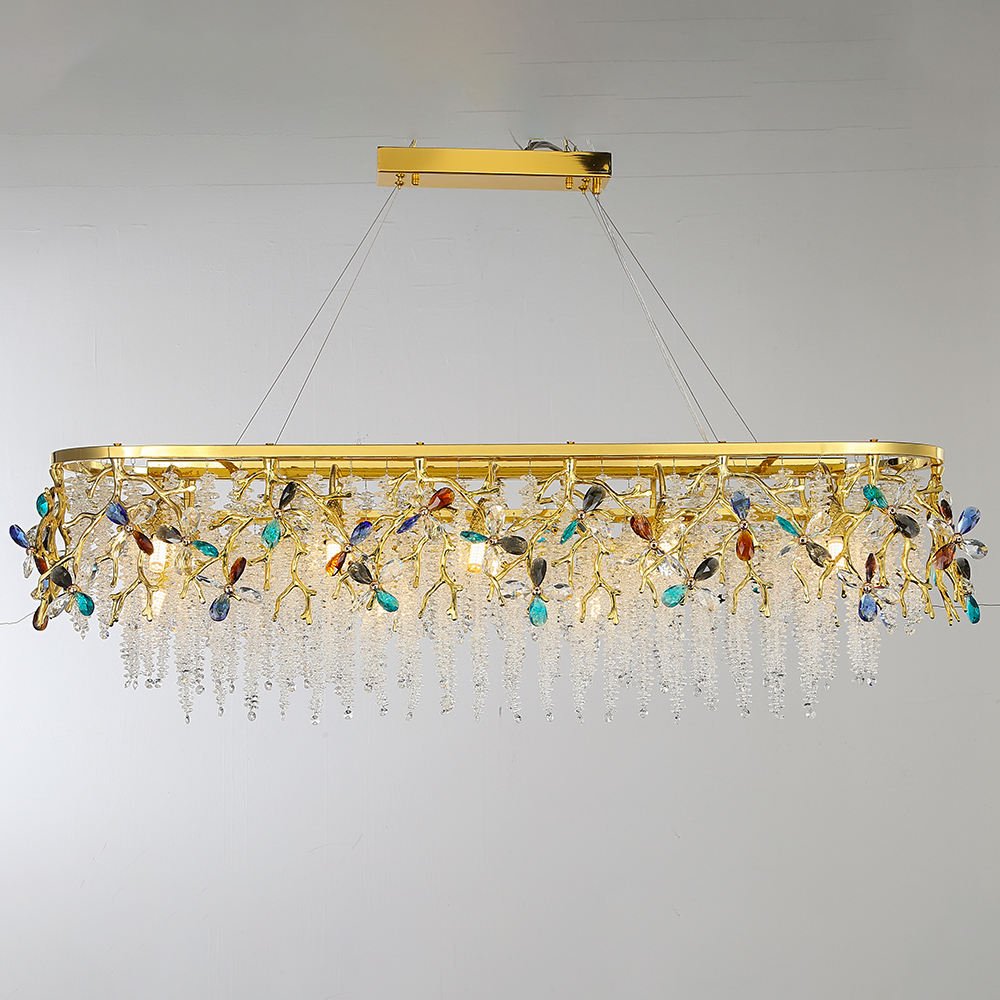
One big mistake people make is not securing their chandelier properly to the ceiling. This is like trying to hang a heavy picture with just a thumbtack – it’s not going to end well!
“A chandelier is only as good as the mount that holds it. Make sure your ceiling can support the weight before you hang anything!”
Always use a sturdy mounting bracket that’s rated for the weight of your chandelier. And make sure it’s attached to a ceiling joist, not just the drywall. If you’re not sure how to do this safely, ask an adult or a professional for help. For ideas on securely mounted chandeliers, check out our Luxe Gold Linear Branch Chandelier with Colorful Crystals.
6. Light Bulb Blunders: Choosing the Wrong Illumination
| Bulb Type | Pros | Cons |
|---|---|---|
| LED | Energy-efficient, cool to touch | Can be more expensive |
| Incandescent | Warm light, inexpensive | Uses more energy, gets hot |
| CFL | Energy-efficient, long-lasting | Light quality may not be as warm |
| Halogen | Bright light, good color rendering | Gets very hot, uses more energy |
Choosing the wrong light bulbs for your branch chandelier is like wearing sunglasses at night – it just doesn’t work well! The right bulbs can make your chandelier shine, while the wrong ones can make it look dull or even be unsafe.
LED bulbs are often the best choice for DIY chandeliers. They don’t get hot like some other bulbs, so they’re safer around your branches. Plus, they use less electricity, which is good for the planet and your parents’ electric bill! For ideas on beautiful lighting effects, take a look at our Luxe Crystal Umbrella Branch Chandelier with LED Lights.
7. Neglecting Nature: Forgetting About Branch Care
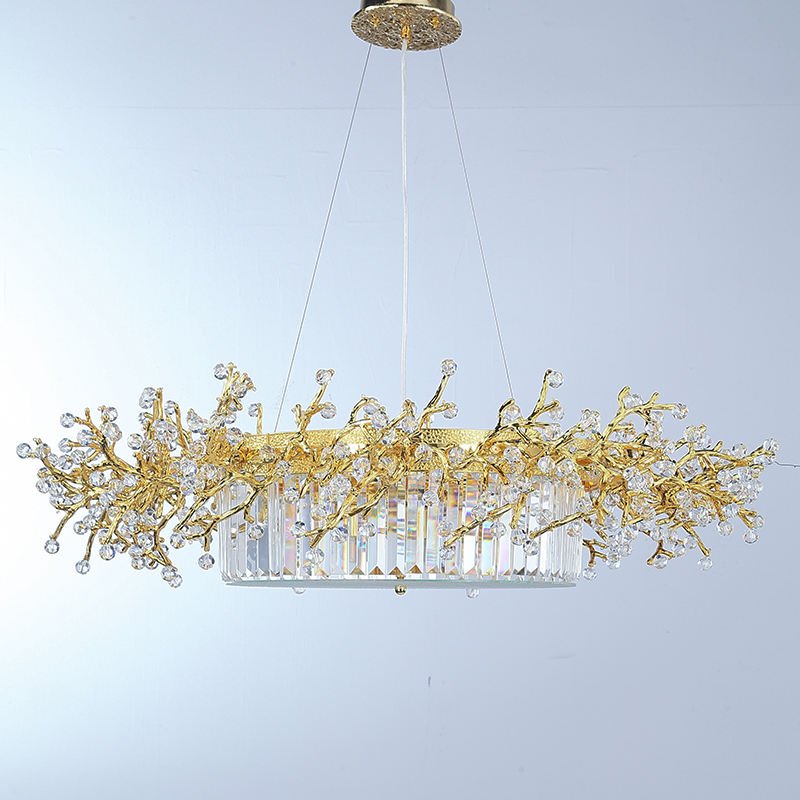
One mistake people often make is forgetting that branches are natural materials that need some care. It’s like having a pet plant – you need to look after it! Here are some things to remember:
- Dust your branches regularly to keep them looking fresh
- Check for any signs of cracking or splitting in the wood
- Keep your chandelier away from direct sunlight to prevent fading
- Avoid placing your chandelier in very humid areas
- Reapply a clear sealant every few years to protect the wood
By taking good care of your branches, your DIY chandelier can stay beautiful for years to come. It’s like giving your chandelier a little spa day every now and then! For inspiration on long-lasting, beautiful branch chandeliers, check out our Luxe Gold Crystal Branch Chandelier with LED Lights.
Remember, making mistakes is part of learning and creating. Don’t be afraid to try new things with your DIY branch chandelier. Just keep these tips in mind, and you’ll be on your way to making a beautiful, safe, and long-lasting light fixture for your home!

