Key Takeaways:
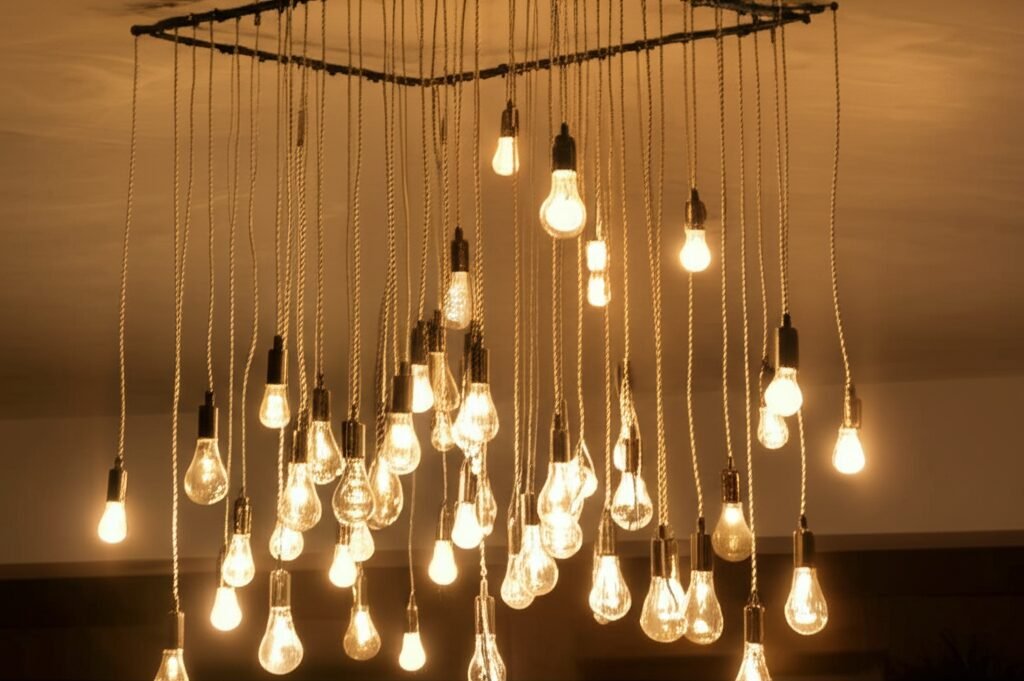
- ● What They Are: Branching bubble chandeliers feature arms spreading out, like tree branches, holding multiple glass globes or ‘bubbles’. They mix nature-inspired forms with modern looks.
- ● Style Fit: Perfect for modern, contemporary, even some minimalist or eclectic spaces. Adds a focal point without being too heavy.
- ● Variations: Come in different finishes (brass, black, chrome), sizes, and bubble styles (clear, frosted, colored). Some even incorporate crystals.
- ● Where to Use: Great for dining rooms, living areas, entryways, sometimes even bedrooms or kitchens with high ceilings. They also see use in high-end club settings.
- ● DIY Option: You can try making one, but it needs care. Know the common mistakes and follow safety tips.
- ● Installation: Usually needs professional installation due to weight and electrical wiring.
What Exactly is a Branching Bubble Chandelier?
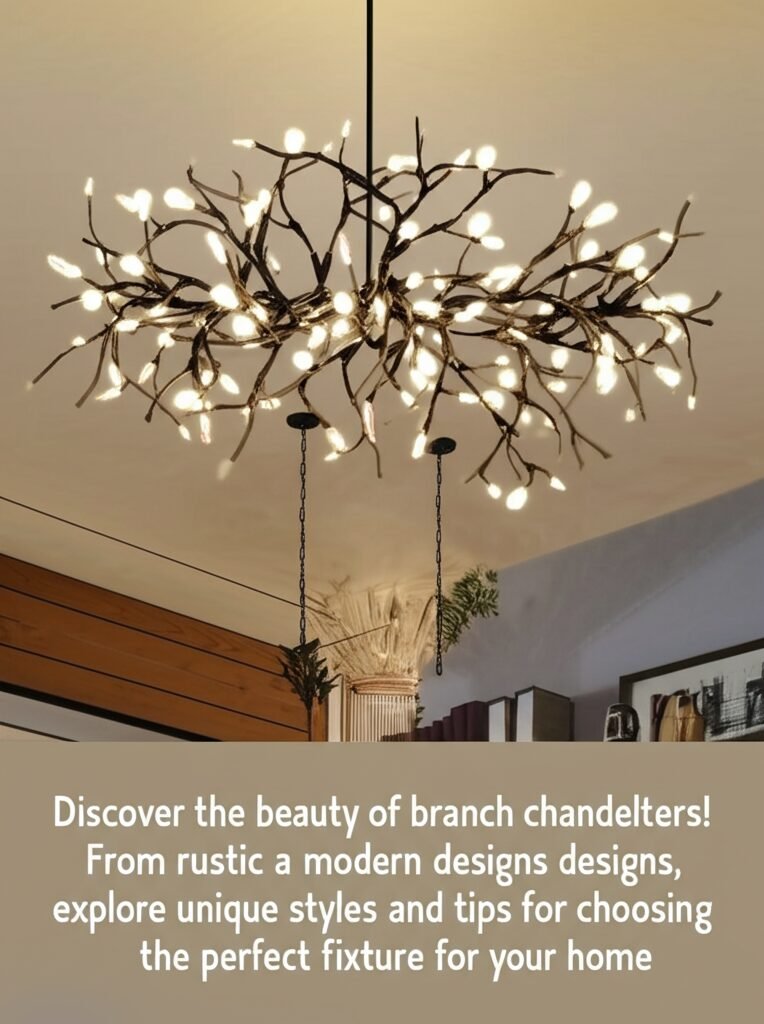
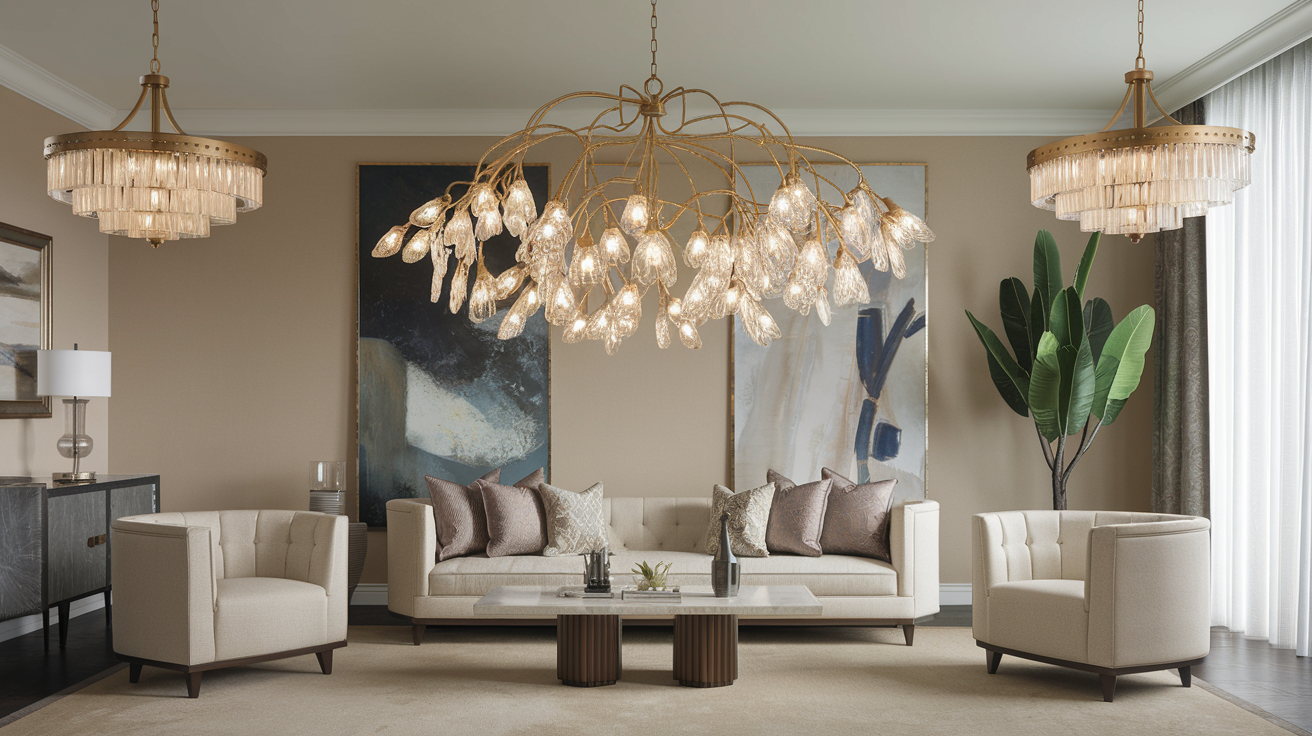
So, you’re wonderin’ what this ‘branching bubble chandelier’ thing is all about, yeah? Well, picture this: you got a central point, right? And from that point, arms kinda spread out, bit like branches on a tree, only more arty, less leafy. On the ends of these arms, or sometimes dotted along ’em, you got these glass spheres. Bubbles, see? Gives it this light, airy feel, even though its often made of metal and glass. Its a design thats really taken off ’cause it hits that sweet spot – modern, but not cold; interesting, but not too fussy. People see these things and they just kinda get it. It makes a statement, sure, but it dont scream in your face.
Where’d the idea come from? Hard to pin down exact origins for styles like this, they sort of evolve, dont they? But you can see hints of mid-century modern design in there, that sort of sputnik, atomic age vibe, but softened up. Instead of pointy bits, you got these smooth, friendly bubbles. The branching part, that feels organic, natural. So it’s a mix, a real clever blend of the man-made and the nature-inspired. It’s why they fit so well in modern spaces – homes today often try to bring a bit of the outside in, use natural shapes but keep things clean. This chandelier type? It nails that brief. I seen ’em used in super sleek apartments and they look ace, but they also work in places with a bit more texture, maybe some wood or stone elements. They’re versatile little numbers. The light they give off, especially with clear bubbles, it’s often quite playful, reflects around the room in a nice way. Not just one big block of light, more like scattered sparkles. Some designs use frosted glass, gives a softer glow, more ambient. Depends what you’re after, really.
Exploring the Unique Styles of Branch Chandeliers
Okay, let’s talk styles, ’cause “branch chandelier” ain’t just one thing. There’s loads of takes on this idea. The bubble one we been talkin’ about? That’s super popular, yeah. The Modern Sputnik Branching Bubble Chandelier is a prime example, blending that mid-century feel with the bubbly look. But the branches themselves, they can be different. Some are really angular, sharp, very geometric. Others are more curvy, flowing, almost like real wood branches. The finish matters too – you got your classic brass for a warm, slightly retro feel, matte black for that stark, modern industrial vibe, chrome or nickel for somethin’ shiny and contemporary.
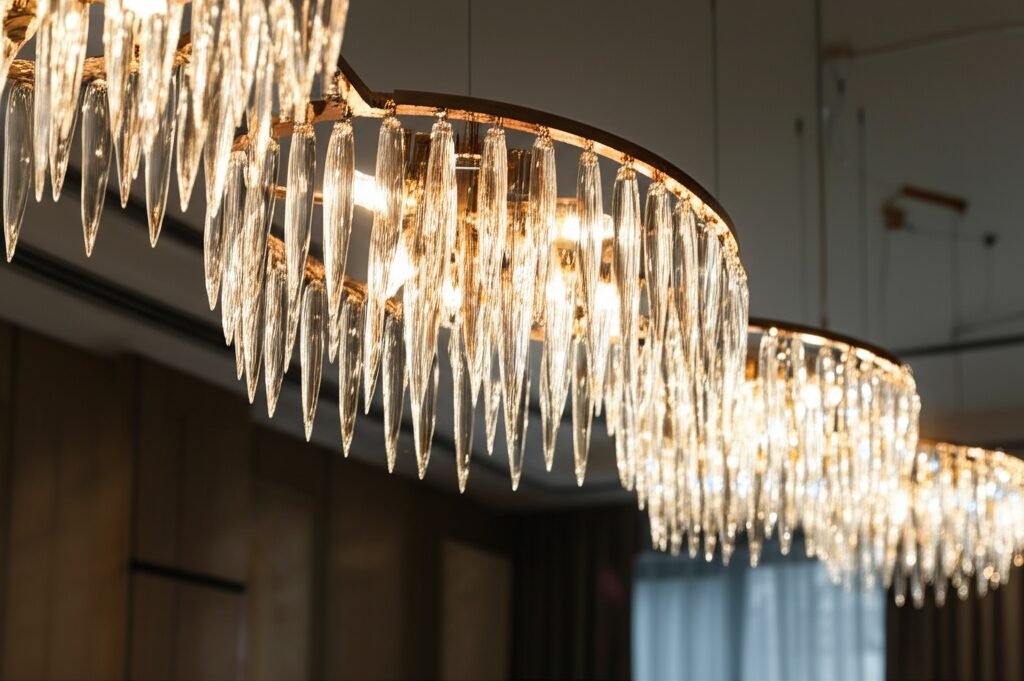
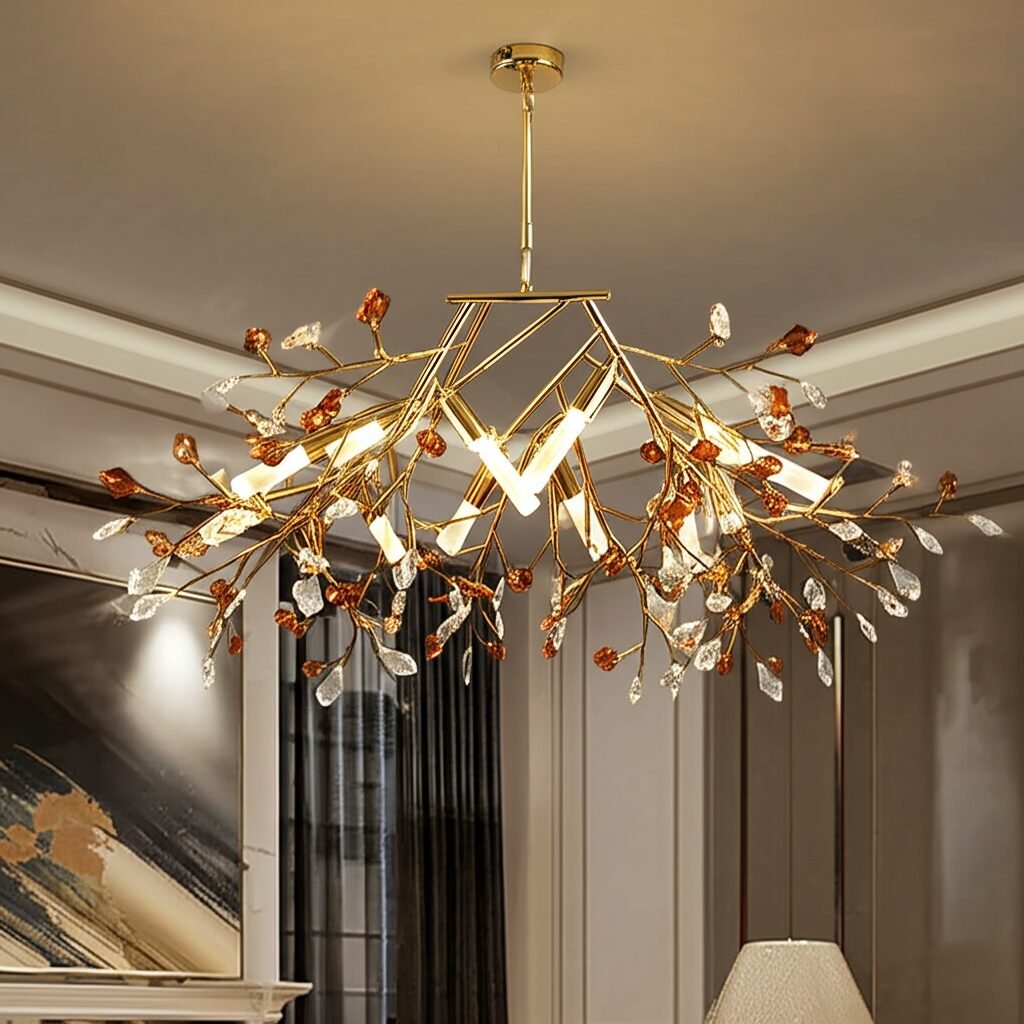
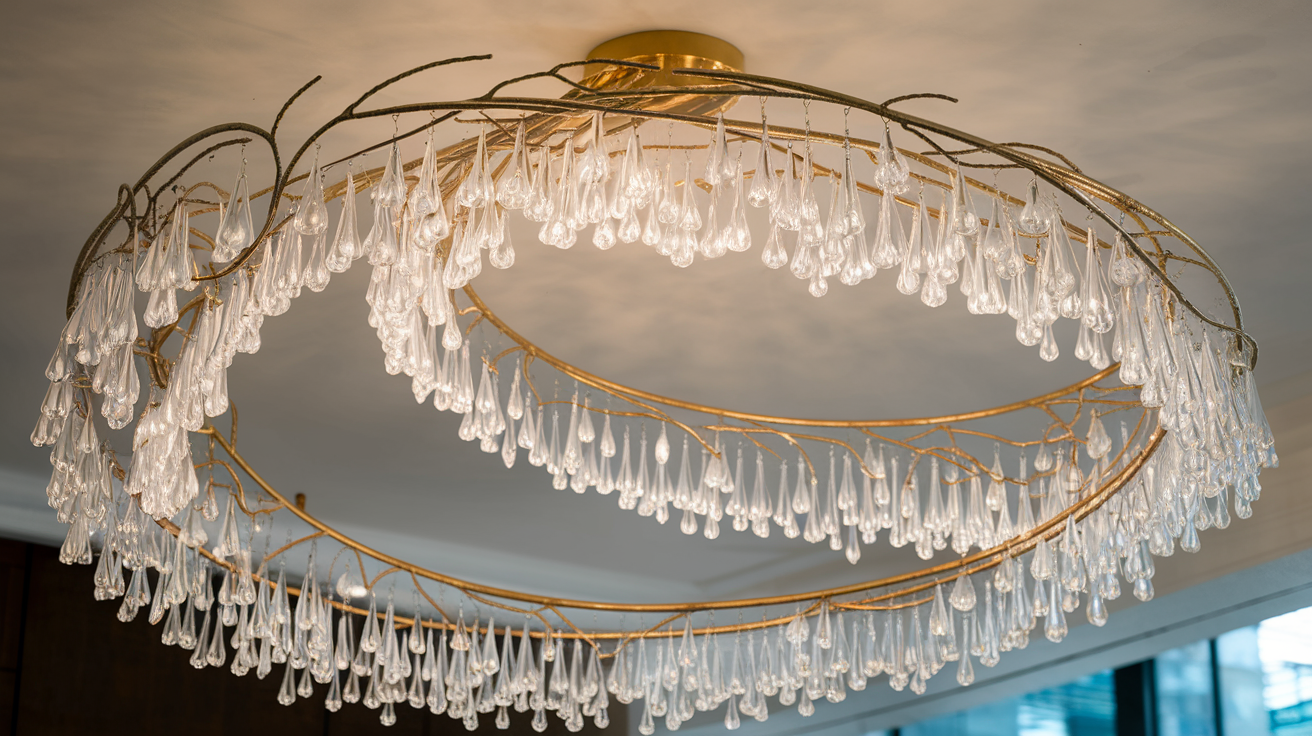
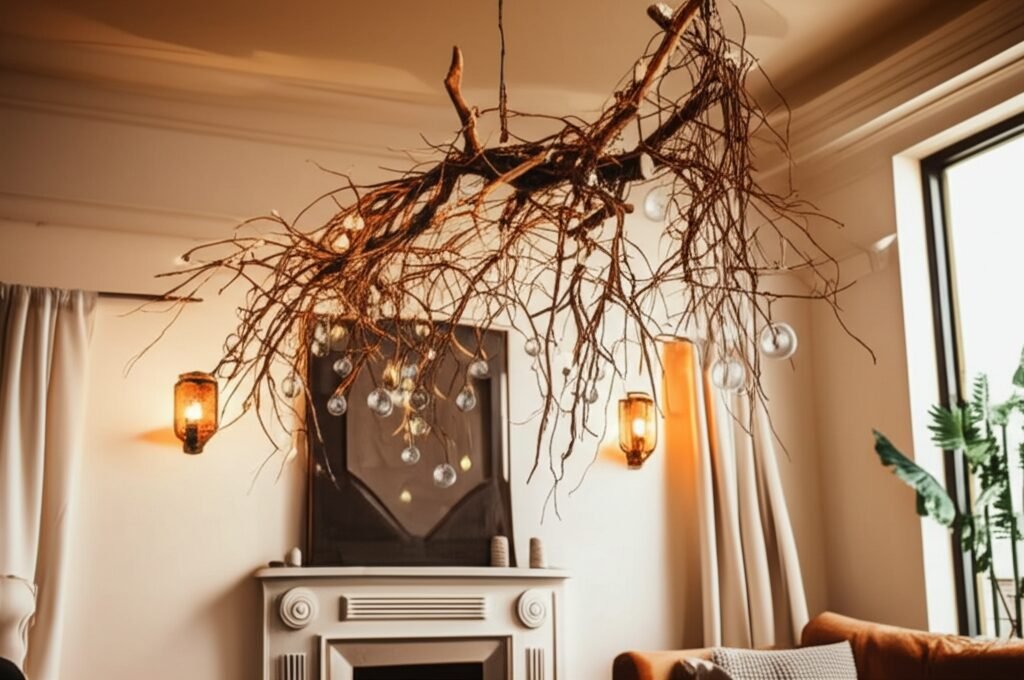
Then there’s the ‘bubbles’ or lights themselves. Clear glass is common, shows off the bulb inside (so pick a nice bulb!). Frosted glass gives a softer, diffused light. Smoked glass adds a bit of moodiness, very chic. Sometimes, it ain’t bubbles at all. I’ve seen designs where the ‘branch’ ends in a simple socket for an exposed bulb, maybe an Edison style one for that vintage industrial touch. Or, you get fancy, and add crystals. Yeah, Crystal Branch Chandeliers mix the organic branch shape with the sparkle of crystal droplets. Bit more glam, bit more traditional maybe, but still works in modern settings if you balance it right. There’s also the whole rustic angle. Thinking about Rustic Branch Chandelier Designs and their Historical Perspective shows how this basic idea – light on a branch – goes way back, just using different materials. Today’s rustic ones might use actual wood branches (treated, of course!) or metal finished to look like bark. They pair well with farmhouse or cabin styles. So, yeah, loads of options. It’s not just one look fits all. You gotta think about the room’s style, the ceiling height, the vibe you want.
When I’m advising clients, first thing I ask is: what’s the feeling you want? Airy and bright? Go clear bubbles, maybe a lighter metal finish. Moody and sophisticated? Maybe smoked glass, darker frame. Playful? Perhaps a design with randomly sized bubbles or asymmetric branches. You see these Branching Bubble Chandeliers pop up everywhere because they can be adapted. It’s a strong core concept. Just remember scale – a massive branching chandelier in a tiny room looks daft, and a tiny one gets lost in a huge space. Measure up, think about proportion. It’s key.
Branch Chandeliers in Modern Homes: Making a Statement
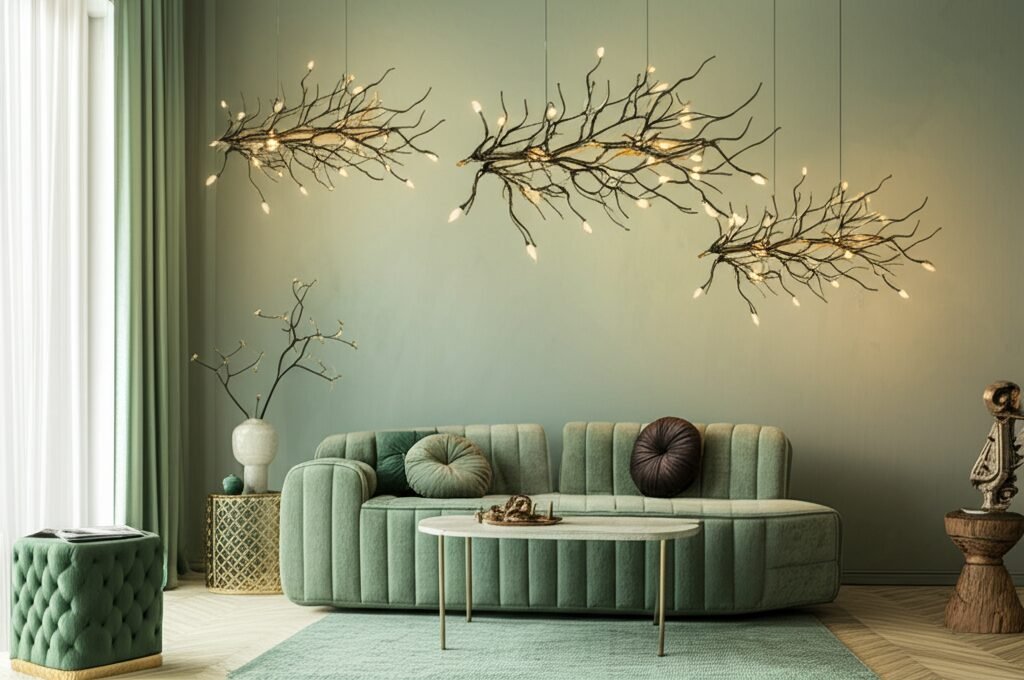
Right then, how do these branching bubble fellas actually work in a modern home? Pretty damn well, is the short answer. Modern design, it loves clean lines, yeah? But sometimes it can feel a bit… sterile. A bit too boxy. What a branching chandelier does, especially the bubble type, is introduce organic shapes without messin’ up the clean aesthetic. It’s like adding a sculpture that also happens to light up the room. It becomes a focal point, somethin’ people notice and talk about. Put one over a dining table? Instant conversation starter. Hang it in a double-height entryway? Makes a grand entrance without being old-fashioned fussy like some massive traditional chandeliers.
Think about the materials in modern homes. Lots of smooth surfaces, maybe concrete floors, big windows, neutral colours. A chandelier with, say, a brass or black metal finish adds a touch of warmth or contrast. The glass bubbles, they catch the light, reflect the room, add a bit of sparkle and depth. It stops the space feeling flat. I’ve installed these in homes that were pure minimalist – white walls, simple furniture – and the chandelier just lifted the whole room, gave it personality. Didn’t fight the minimalism, just complemented it. And like we said, there’s variations. If the bubbles feel a bit too playful for your specific modern look, maybe a Branch Chandelier with Crystals offers that modern elegance you’re after, mixing the branch structure with a more refined element.
One thing people worry about is ‘will it date quickly?’. Fair question. Trends come and go, right? But this style, because it blends classic mid-century ideas with organic forms, it feels like it’s got staying power. It ain’t tied to one specific fleeting fad. It feels kinda timeless in its modernness, if that makes sense. It references nature, and that never really goes out of style. Plus, you can update the look easy just by changing the bulbs – different shapes, different wattages, smart bulbs even. It’s adaptable. The key is picking the right size and finish for your space. Don’t just buy the one you saw in a magazine; think about your ceiling height, your room size, your existing furniture. Make it part of the whole picture, not just somethin’ plonked in.
High-End Applications: Branch Chandeliers in Clubs and VIP Areas
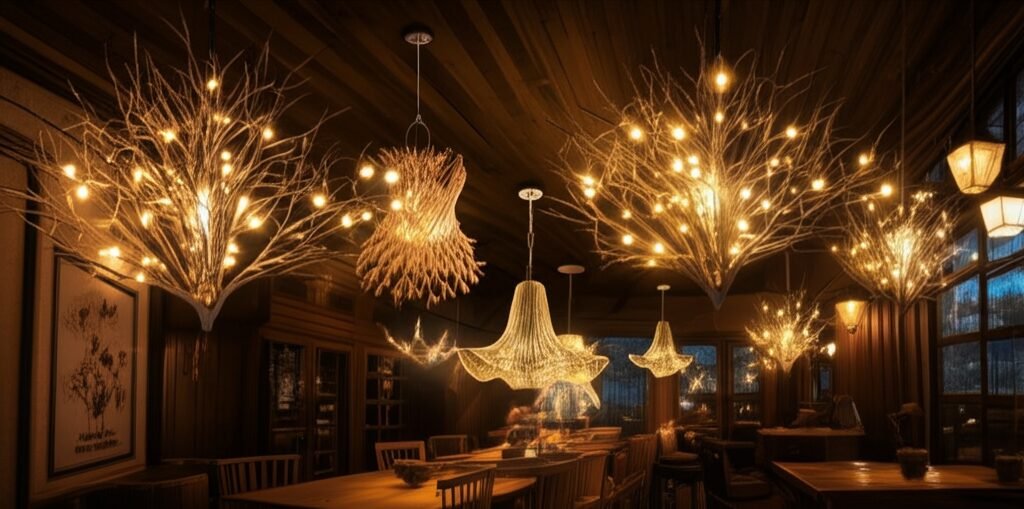
Now, shifting gears a bit. These chandeliers ain’t just for homes, oh no. They’ve found a real niche in more high-end commercial spaces, particularly clubs and bars. Why? ‘Cause they look dramatic, sophisticated, and kinda cool. They fit that vibe perfectly. When you’re designing lighting for a club, you want pieces that create atmosphere, that look good both when the lights are low and when they’re up. A branching bubble chandelier, especially a larger custom one, can be a major feature. Hang a big one over a central bar or a lounge area? It immediately signals ‘this place is stylish’.
Think about High-End Club Lighting Solutions: Creating VIP Areas with Custom Lighting. VIP sections need to feel special, exclusive. A stunning chandelier, maybe a unique configuration of the branching bubble style, can help define that space. It adds a touch of luxury. You can play with the light too. Dim the bulbs low for an intimate mood, maybe use warmer tones. The way the light reflects off the glass bubbles creates this ambient shimmer, which is perfect for that loungey, upscale feel. It’s not just about brightness; it’s about the quality of the light and the fixture itself being part of the decor. We’ve used these fixtures as part of specific mood lighting techniques for clubs, layering them with other light sources like wall washers or spotlights to build up the atmosphere.
These chandeliers also work well for event-specific lighting solutions. Maybe for a special party or theme night, you could change the bulbs to coloured ones, or sync them with other effects. Because they’re visually interesting even when off, they contribute to the overall design aesthetic 24/7. Durability is a factor in clubs, of course. You need fixtures that look good but can also handle the environment. Good quality branching chandeliers are typically well-made, often using robust metals and strong glass. Obviously, you hang ’em high enough to be out of reach! But their structure, often metal, is generally quite sturdy. Maintenance usually just involves dusting and occasional bulb changes. Compared to some very delicate installations, they’re relatively practical for this kind of high-traffic, high-style environment. It’s that blend of art piece and functional light fixture that makes them so appealing for designers working on these upscale venues.
Dance Floor Drama: Integrating Sound and Light with Branch Designs
Right, let’s get specific: the dance floor. That’s the heart of many clubs, yeah? Lighting here needs to be dynamic, energetic. Can a branching chandelier fit in? Absolutely, but maybe in a different way than in a lounge area. You might not hang a massive, delicate bubble chandelier right over the main dance floor where things get wild. But they can be amazing around the edges of the dance floor, or in transitional areas leading onto it. They provide a stylish contrast to the more typical moving heads and lasers often used directly above the dancers. They add a layer of sophistication to the visual mix.
Think about High-End Club Lighting Solutions: Designing for Dance Floors. It’s all about creating energy and excitement. While a static chandelier doesn’t ‘move’, its presence can frame the space. Imagine several smaller branching fixtures hung at varying heights around the perimeter. The light reflecting off the bubbles adds a subtle sparkle that complements the more active lighting effects. Now, where it gets really interesting is when you think about High-End Club Lighting Solutions: Sound and Light Integration. Can you sync a branching bubble chandelier to the music? Well, kinda. You wouldn’t sync the structure itself, obviously. But you can definitely control the bulbs within it using DMX controllers or similar systems tied to the DJ booth or sound system.
Imagine the bulbs inside the bubbles pulsing gently to the bassline, or changing colour subtly with the music’s mood. Or maybe flashing in sequence during a build-up. You’d need smart bulbs or LED modules within the fixture that are compatible with the club’s control system. This turns the chandelier from a static piece into something dynamic, part of the overall light show. It’s a more subtle effect than strobes or lasers, but it adds a layer of detail, makes the whole environment feel more cohesive and responsive to the music. It’s about integrating even the decorative lighting into the experience. You gotta be careful though. Too much flashing from a chandelier could be distracting or annoying. It’s about finding the right balance, using it perhaps for accents or slower pulses rather than frantic strobing. But the potential is there to make these beautiful fixtures part of the dance floor’s energy, not just passive observers. It takes good planning and the right tech, but the result can be pretty special, adding that extra ‘wow’ factor.
Thinking of DIY? Building Your Own Branch Chandelier
Alright, so you’ve seen these fancy chandeliers, maybe checked the price tag, and thought, “Hang on, could I make one myself?” It’s tempting, innit? Especially if you’re handy. And yeah, people do it. There are loads of DIY Branch Chandeliers: Step-by-Step Guide to Building Your Own tutorials online. The basic idea seems simple enough: get some branches (real or metal tubing), arrange ’em how you like, wire up some bulb holders, add some bubbles or shades if you want ’em. Easy peasy? Hmm, not so fast.
First off, materials. If you’re using real branches, they need proper treatment. Cleaning, drying thoroughly (takes ages!), maybe sealing them so they dont attract pests or rot. Then you gotta figure out how to securely join them together and how to run the wiring safely through or along them. If you’re using metal pipes or tubes, you need tools to cut, bend, and join them. Welding or brazing might be involved for a really solid structure. Then there’s the wiring. This is the bit where you absolutely cannot mess about. Understanding electrical load, using the right gauge wire, making secure connections, proper grounding – it’s crucial. Get it wrong, and best case scenario it dont work, worst case… well, fire hazard, electric shock. Not worth the risk if you’re not confident.
But let’s say you are confident with tools and electrics. The design part is fun! You can really customize it. Maybe you like the idea of DIY Branch Chandeliers: Creative Upcycling Ideas. Got some old plumbing pipes? Interesting glass bottles? Could they become part of your chandelier? You can make something truly unique. Finding the ‘bubbles’ can be a challenge – clear glass globes are available from lighting suppliers, or maybe you find vintage shades. Getting the balance right, making it look ‘designed’ rather than just ‘cobbled together’, that takes a good eye. Sketch it out first. Think about weight distribution – it needs to hang level and be securely mounted to the ceiling junction box, which itself needs to be rated for the chandelier’s weight. Don’t hang a heavy DIY beast off a standard plastic box! So yeah, DIY is possible. Rewarding, even. But it requires skills, patience, and a very healthy respect for safety. It ain’t a quick weekend project unless you’re already pretty experienced.
DIY Disasters: Common Mistakes and Safety Must-Knows
Okay, let’s be real. While a successful DIY branch chandelier is awesome, a failed one can be… well, a disaster. I’ve seen a few mishaps over the years, things people bring in hoping I can fix ’em. So, what goes wrong? Let’s talk DIY Branch Chandeliers: Common Mistakes to Avoid. One biggie is underestimating the weight. People build this cool thing, looks great on the workbench, then they try hang it and realise the ceiling fitting ain’t up to it, or the structure itself starts to sag ’cause the joins weren’t strong enough. Always build robustly and check your ceiling anchor point can take the load, plus extra for safety.
Wiring errors. This is the scary one. Using the wrong type or thickness of wire for the number of bulbs (the load). Making dodgy connections using just electrical tape instead of proper wire nuts or connectors. Not grounding the fixture properly, especially if it has metal parts. These mistakes are serious fire or shock risks. If you are not 100% sure about electrical work, please, get help or leave it to the pros. It just ain’t worth messing up. Following DIY Branch Chandeliers: Safety Tips for DIY Lighting isn’t optional, it’s essential. Always turn off the power at the breaker before working on wiring. Use UL-listed components (sockets, wires, etc.). Test your connections.
Another common mistake? Aesthetics. Making something that just looks… clumsy. Branches too thick, bubbles too big or small for the frame, wires messily wrapped around the outside instead of neatly hidden. It takes planning and a bit of an artistic eye to get the proportions right. Also, forgetting about heat. If you’re using incandescent bulbs, they generate heat. Make sure your ‘bubbles’ or shades have enough ventilation, and that wires aren’t pressed right up against hot bulbs. LEDs run much cooler, which is another reason they’re often a better choice for DIY projects (and energy efficiency!). So, the key takeaways for avoiding DIY disaster: plan carefully, overestimate strength needed, never compromise on electrical safety, and take your time to get the look right. If it starts feeling out of your depth, stop and reassess. No shame in buying one ready-made if the DIY route proves too tricky.
Choosing Your Perfect Branching Bubble Chandelier: Final Thoughts
So, we’ve journeyed through the world of branching bubble chandeliers, yeah? From what they are, to the styles, where they fit, even how you might (carefully!) make one. How do you pick the right one for you? First up, think about scale. Measure your room, especially the ceiling height and the space above where it’ll hang (like a dining table). A huge chandelier in a low-ceiling room feels oppressive; a tiny one in a vast space looks lost. There are guides online for sizing, but common sense helps too. Stand in the room and imagine it.
Next, style. Does your room lean minimalist, mid-century, industrial, maybe a bit glam? Pick a chandelier finish and shape that complements it. Brass warms up cool rooms, black adds drama, chrome is sleek. Curvy branches feel softer, angular ones more stark. Clear bubbles are airy, frosted ones diffuse light, smoked glass adds mood. Think about the light bulbs too – the style of bulb can change the whole look. Consider the trends in chandeliers, but don’t be a slave to them. Pick something you love and that fits your home’s long-term style. Things like sustainability and smart features are getting bigger, as noted in discussions on lighting trends, so maybe look for LED options or fixtures made with durable, quality materials.
Function matters. How much light do you actually need in that spot? Is this the main light source, or more for atmosphere? Check the number of bulbs and the maximum wattage allowed. Consider installing a dimmer switch – highly recommended for chandeliers! Lets you adjust the mood from bright and functional to low and intimate. Budget, obviously. These fixtures range from reasonably affordable to seriously high-end designer pieces. Set a budget beforehand. Remember to factor in potential installation costs if you’re not doing it yourself (which, for most people, is the wise choice). Finally, my expert advice? Don’t rush it. Look around, compare styles. Maybe even try mocking up a simple shape out of cardboard to check the size in your space. It’s a significant piece, a focal point. Choose wisely, install safely, and you’ll have a stunning feature that brings you joy (and light!) for years to come.
Frequently Asked Questions (FAQs)
Q1: Are branching bubble chandeliers hard to clean?
A: They can be a bit fiddly, yeah. The glass bubbles attract dust. Using a feather duster or a microfiber cloth regularly helps. For a deeper clean, you might need glass cleaner on a cloth, being careful not to get liquid in the electrical parts. Make sure the power is off first!
Q2: What kind of light bulbs do they usually take?
A: It varies hugely by design. Many modern ones use standard E26/E27 bases (like normal bulbs) or smaller E12/E14 candelabra bases. Some have integrated LED modules you can’t replace. Always check the manufacturer’s specs. LED bulbs are usually best – they save energy, last longer, and run cooler.
Q3: Can I hang a branching bubble chandelier on a sloped ceiling?
A: Sometimes. Some chandeliers come with a swivel adapter in the canopy (the part that attaches to the ceiling) that allows for sloped installation. If not, you might be able to buy a separate sloped ceiling adapter kit. Check the product details or ask the manufacturer.
Q4: Are these chandeliers bright enough to be the only light source in a room?
A: Depends on the size of the room and the specific chandelier (number of bulbs, max wattage). In a smaller room like an entryway or powder room, maybe. In larger living or dining rooms, they’re often best as a main feature light, supplemented by other lighting like recessed lights, lamps, or wall sconces for balanced illumination. Using a dimmer is key for flexibility.
Q5: How much do branching bubble chandeliers typically cost?
A: Prices vary wildly. You can find smaller, simpler ones from online retailers for a few hundred dollars. Mid-range options from reputable lighting brands might be $500 – $2000+. High-end designer pieces or large custom installations can run into many thousands. Material quality, brand name, size, and complexity all affect the price.


