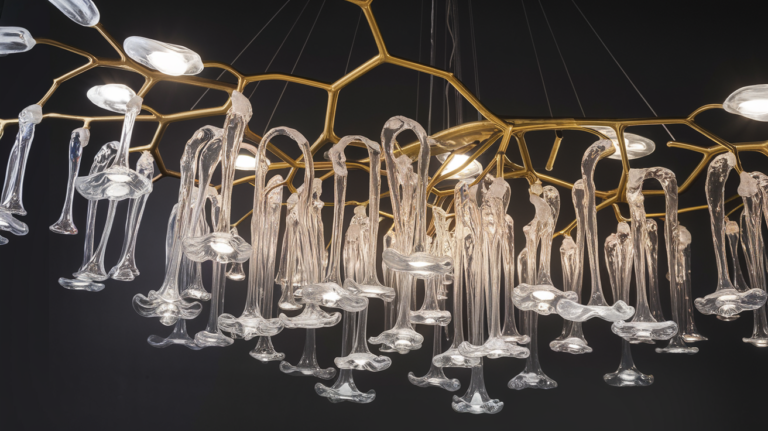
| DIY Branch Chandelier Quick Guide |
|---|
|
1. Nature’s Treasures: Selecting the Perfect Branches
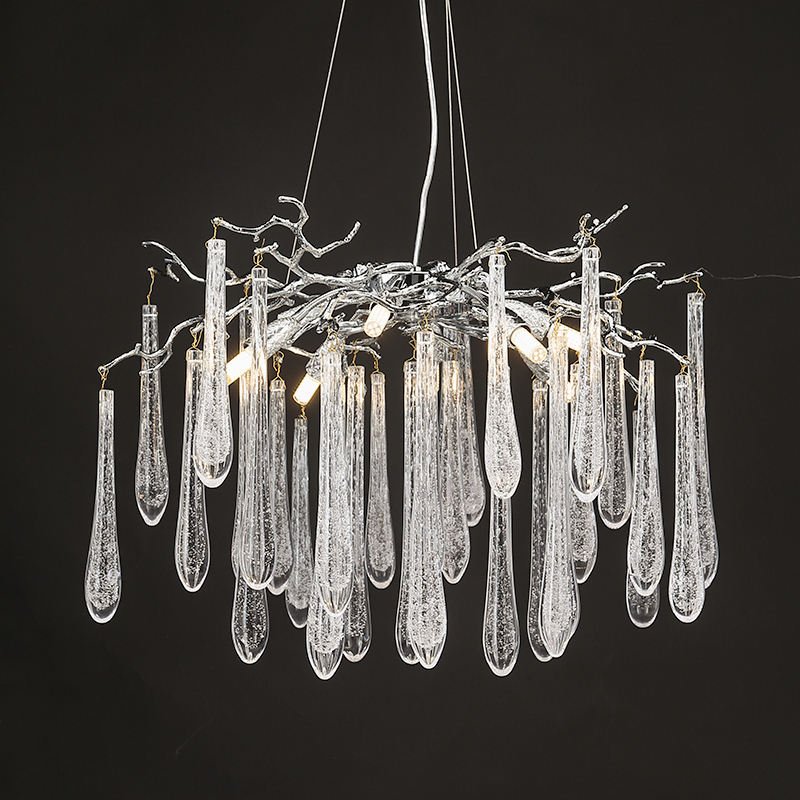
Finding the right branches is like going on a treasure hunt in nature! Look for branches that are dry and have interesting shapes. You can find them in your backyard, local parks (with permission), or even ask a tree trimming service for leftovers.
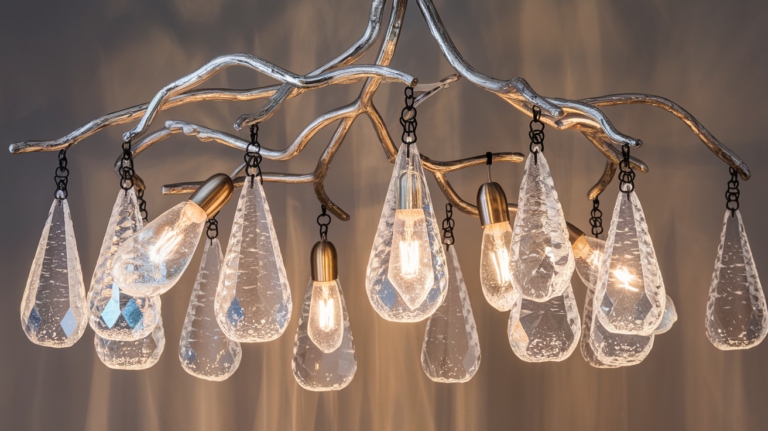
When picking branches, think about how they’ll look hanging from your ceiling. Curved branches can create cool shapes, while straight ones give a more modern look. For inspiration, check out our Ethereal Icicle Chandelier with Silver Branch Canopy to see how professionals use branches in lighting.
2. Glowing Greens: Adding Lights to Your Branch Chandelier
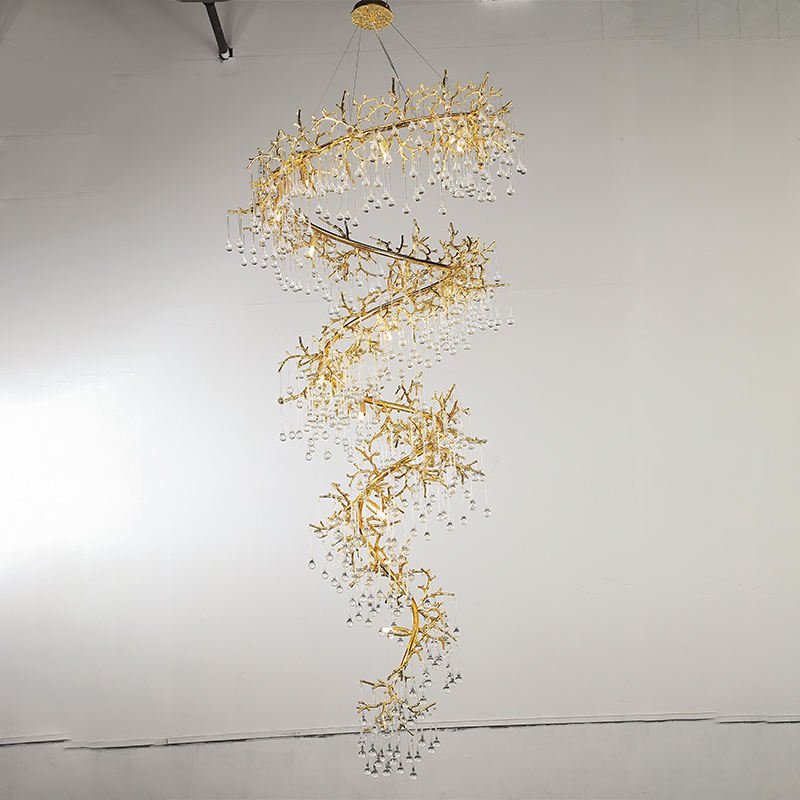
Lights are what make your branch chandelier shine! You have lots of fun options to choose from:
- Fairy lights: These tiny lights look like fireflies on your branches
- LED strips: They’re easy to wrap around branches and come in many colors
- Solar-powered lights: Great for outdoor chandeliers
- Battery-operated candles: For a cozy, flickering glow
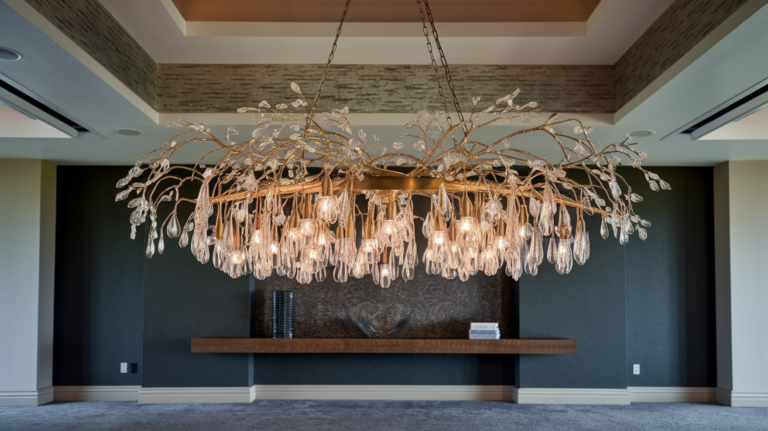
When adding lights, make sure to hide the wires by wrapping them around the branches. This makes your chandelier look magical, like the lights are part of the branches themselves. For more lighting ideas, take a look at our Luxe Gold Spiral Branch Chandelier with Crystal Droplets.
3. Color Pop: Painting Your Branch Chandelier
| Paint Type | Best For | Effect |
|---|---|---|
| Spray Paint | Quick, even coverage | Smooth, modern look |
| Acrylic Paint | Detailed designs | Bright, fun colors |
| Metallic Paint | Glamorous touch | Shiny, eye-catching finish |
| Wood Stain | Natural look | Enhances wood grain |
Painting your branches is like giving them a fancy new outfit! You can keep them natural, or paint them any color you like. White branches look snowy and magical, while gold or silver can make your chandelier look super fancy.
Remember to paint your branches before you add lights or decorations. This makes it easier and less messy. If you want ideas for colorful chandeliers, check out our Luxe Gold Lotus Blossom Chandelier with Glass Petals.
4. Sparkle and Shine: Decorating with Crystals and Beads
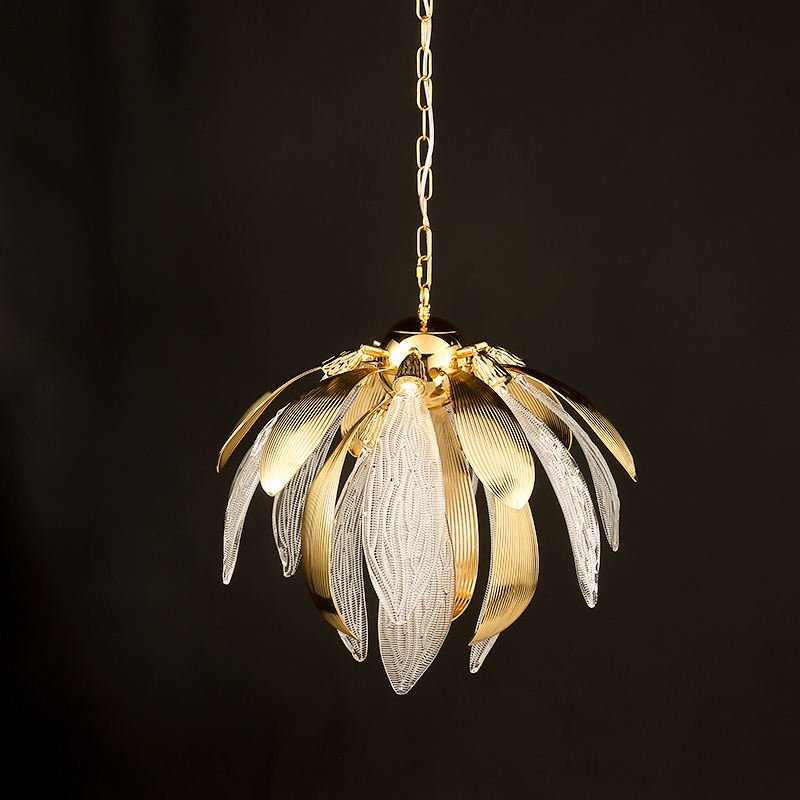
Adding crystals and beads to your branch chandelier is like putting jewelry on it. It makes everything sparkle and shine! Here are some fun things you can add:
- 💎 Crystal prisms: These catch the light and make rainbows
- 🔮 Glass beads: They come in lots of colors and shapes
- 🐚 Seashells: Perfect for a beach-themed room
- 🧊 Icicle ornaments: Great for a winter wonderland look
When you’re hanging decorations, try to spread them out evenly. This helps your chandelier look balanced and not too heavy on one side. For more ideas on how to decorate with crystals, look at our Elegant Gold Lotus Flower Pendant Light with Glass Petals.
5. Nature’s Bling: Using Natural Elements for Decoration
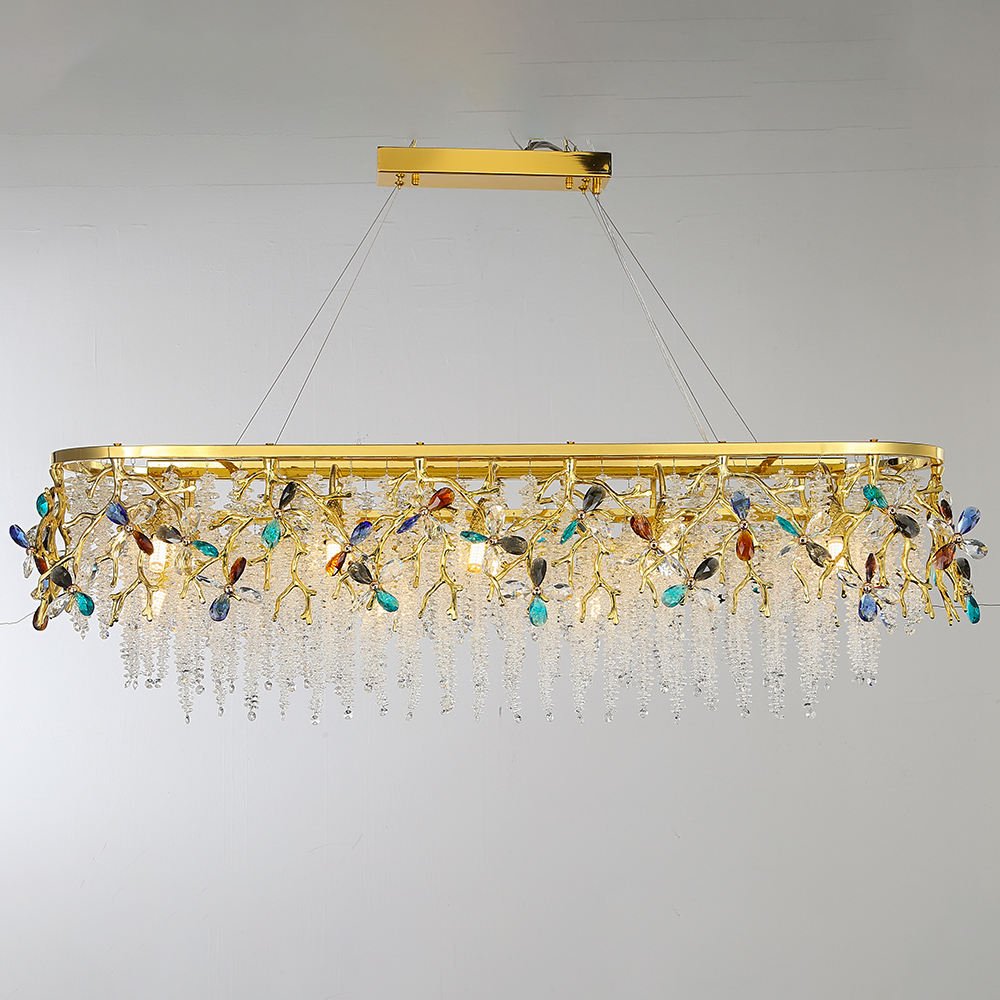
You can make your branch chandelier even more nature-y by adding things you find outside. It’s like bringing a piece of the forest into your home! Here are some cool ideas:
- Pinecones: Hang small ones for a woodsy feel
- Dried flowers: They add pretty colors and shapes
- Feathers: For a light, airy look
- Acorns: Paint them gold for a fancy touch
- Moss: Glue it on branches for a forest vibe
When using natural items, make sure they’re completely dry to avoid any mold. You can spray them with a clear sealer to make them last longer. For inspiration on mixing natural and fancy elements, check out our Luxe Gold Linear Branch Chandelier with Colorful Crystals.
6. Seasonal Swaps: Changing Your Chandelier with the Seasons
“Your branch chandelier can be like a tree that changes with the seasons, bringing nature’s beauty indoors all year round!”
| Season | Decoration Ideas | Colors |
|---|---|---|
| Spring | Fake blossoms, pastel ribbons | Pink, light green, yellow |
| Summer | Seashells, starfish, colored glass | Blue, turquoise, sandy beige |
| Fall | Fake leaves, mini pumpkins | Orange, red, brown |
| Winter | Snowflakes, icicles, pinecones | White, silver, ice blue |
One of the coolest things about a DIY branch chandelier is that you can change how it looks with the seasons. It’s like giving your chandelier a new outfit for each season!
You can swap out decorations or change the color of lights to match holidays or the time of year. This keeps your chandelier looking fresh and exciting all year long. For more ideas on adaptable lighting, take a look at our Luxe Crystal Umbrella Branch Chandelier with LED Lights.
7. Eco-Friendly Additions: Upcycling Household Items
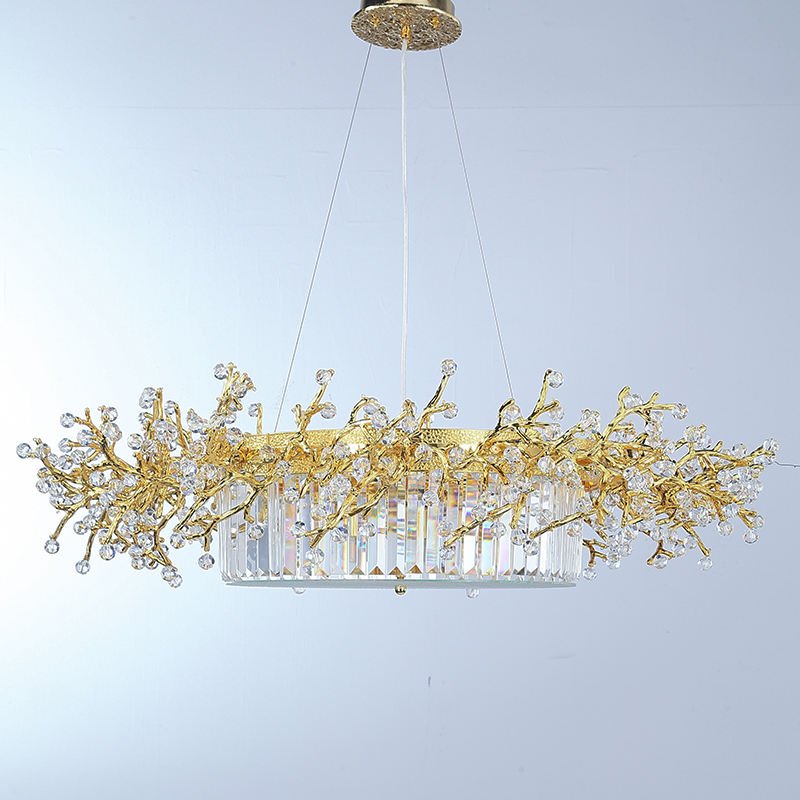
Upcycling means using old stuff in new ways. It’s great for the planet and your wallet! Here are some things from around your house that you can use to decorate your branch chandelier:
- 🥄 Old keys or silverware: Hang them for a tinkling sound
- 📰 Paper: Cut into shapes or make origami decorations
- 🧵 Buttons: String them together for colorful garlands
- 🍶 Glass jars: Use as mini vases or candle holders
- 🧶 Yarn: Wrap around branches for a cozy look
Using things you already have makes your chandelier unique and tells a story. Plus, it’s a fun way to clear out your junk drawer! For ideas on how to mix different materials, check out our Luxe Gold Crystal Branch Chandelier with LED Lights.
Remember, the best part about making your own branch chandelier is that it’s all about your creativity. There’s no right or wrong way to do it. Have fun, experiment with different ideas, and create a chandelier that’s truly one-of-a-kind!

