| Quick Guide: DIY Branch Chandelier |
|---|
|
1. Gathering Your Materials: The Foundation of Your Chandelier
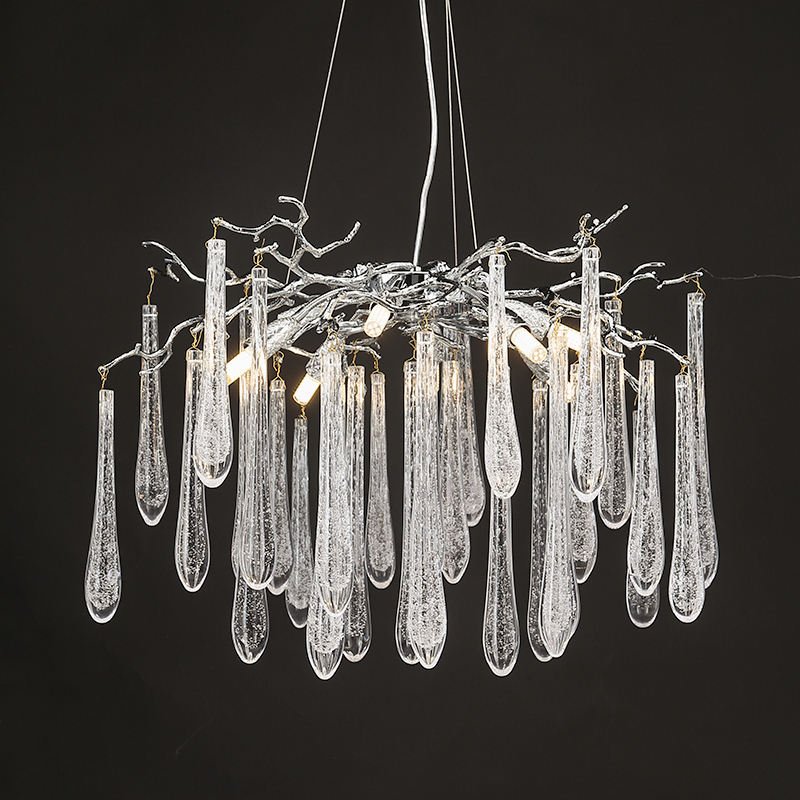
Before you start building your branch chandelier, you need to gather all your materials. Think of it like collecting ingredients before cooking a delicious meal. Here’s what you’ll need:
- Branches: Look for interesting shapes and sizes
- String lights or small bulbs
- Wire for hanging
- Decorative items like crystals or beads
- Paint or wood stain (optional)
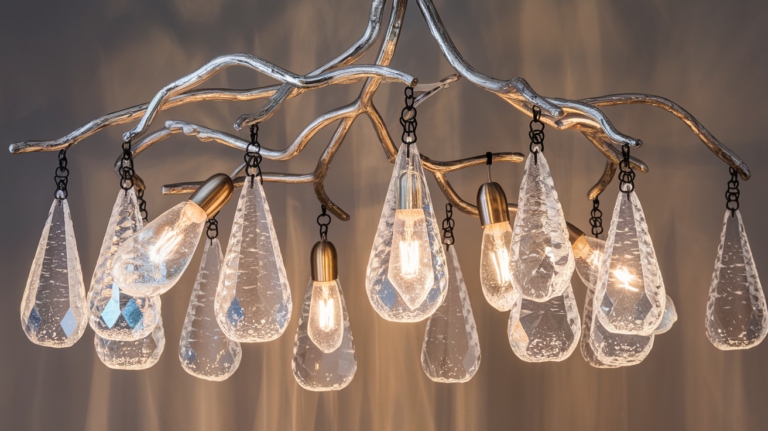
Remember, the branches are the star of your chandelier. You can find them in your backyard or local park (always ask permission first!). For inspiration on how professionals use branches in lighting, check out our Ethereal Icicle Chandelier with Silver Branch Canopy.
2. Preparing Your Branches: Cleaning and Shaping

Now that you have your branches, it’s time to get them ready. This step is like giving your branches a spa day! Here’s what to do:
- Clean the branches with a damp cloth
- Remove any loose bark
- Sand down any rough spots
- Trim branches to your desired shape
If you want to change the color of your branches, now is the time to paint or stain them. Let them dry completely before moving on. For ideas on how to arrange branches beautifully, look at our Luxe Gold Spiral Branch Chandelier with Crystal Droplets.
3. Assembling the Base: Creating Your Chandelier’s Structure
| Step | Action | Tip |
|---|---|---|
| 1 | Arrange branches in desired shape | Lay them out on the floor first |
| 2 | Secure branches together with wire | Use pliers for tight twists |
| 3 | Create a central point for hanging | A sturdy branch or wire loop works well |
| 4 | Check balance of the structure | Adjust until it hangs evenly |
Assembling the base is like putting together a puzzle. You want all the pieces to fit just right. Take your time and don’t be afraid to try different arrangements until you find one you like.
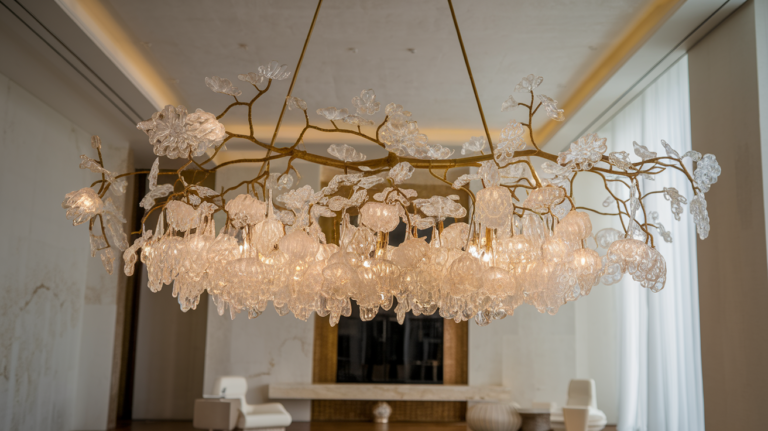
Remember, the shape of your chandelier will affect how it looks in your room. For inspiration on unique chandelier shapes, check out our Luxe Gold Lotus Blossom Chandelier with Glass Petals.
4. Adding Lights: Illuminating Your Creation
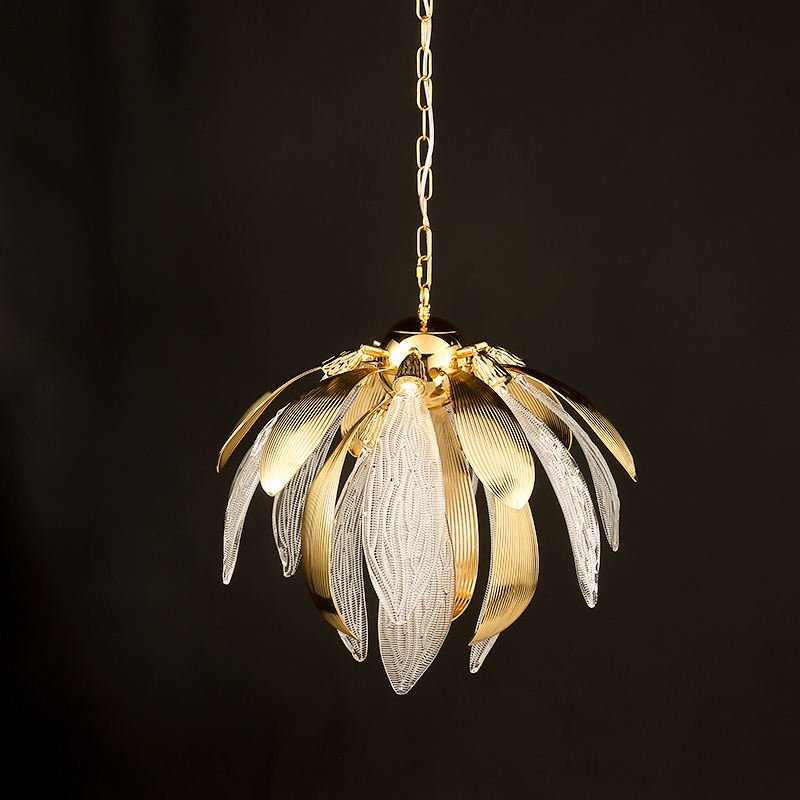
Now comes the exciting part – adding lights to your chandelier! This is where your creation really starts to shine. Here’s how to do it:
- Choose your lights: LED string lights work well
- Start at the center and work your way out
- Wrap lights around branches securely
- Hide the battery pack or cord in the branches
When adding lights, think about how you want the light to spread. Do you want it even all over, or more concentrated in certain areas? Play around with different arrangements to see what looks best. For ideas on professional lighting techniques, look at our Elegant Gold Lotus Flower Pendant Light with Glass Petals.
5. Decorating Your Chandelier: Adding Personal Flair

Decorating your chandelier is like putting icing on a cake – it’s where you can really show your style! Here are some ideas:
- Hang crystals for sparkle
- Add fake flowers for a natural look
- Use colorful beads for a fun pop of color
- Attach small ornaments for a festive touch
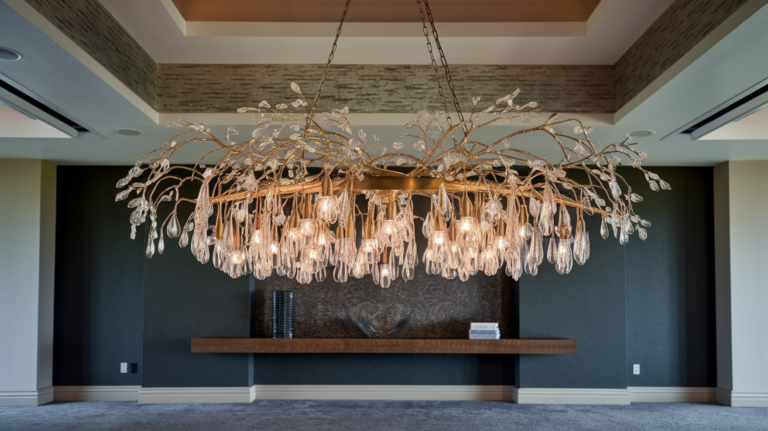
Remember, less can be more. You don’t want your chandelier to look too crowded. Step back often to see how it looks from a distance. For inspiration on elegant decorations, check out our Luxe Gold Linear Branch Chandelier with Colorful Crystals.
6. Hanging Your Chandelier: The Grand Finale
“The right placement can make your DIY branch chandelier the star of the room!”
Hanging your chandelier is the last step, but it’s super important. Here’s what to do:
- Choose the perfect spot in your room
- Install a sturdy hook in the ceiling
- Use strong wire or chain to hang your chandelier
- Adjust the height until it’s just right
- Make sure it’s secure and balanced
When choosing where to hang your chandelier, think about where it will look best and provide the most light. Over a dining table or in the center of a room often works well. For ideas on professional chandelier placement, look at our Luxe Crystal Umbrella Branch Chandelier with LED Lights.
7. Maintaining Your Chandelier: Keeping It Beautiful
| Maintenance Task | Frequency | Tips |
|---|---|---|
| Dusting | Weekly | Use a soft, dry cloth |
| Checking lights | Monthly | Replace any burnt-out bulbs |
| Tightening connections | Every 3 months | Ensure all parts are secure |
| Deep cleaning | Yearly | Take down and clean thoroughly |
Taking care of your chandelier will keep it looking great for years to come. Regular dusting and checking the lights will go a long way. If you notice any parts coming loose, fix them right away to prevent damage.
Remember, your DIY branch chandelier is a unique piece of art. With proper care, it will continue to light up your room and impress your guests. For more lighting ideas and professional-grade chandeliers, visit our home page.

